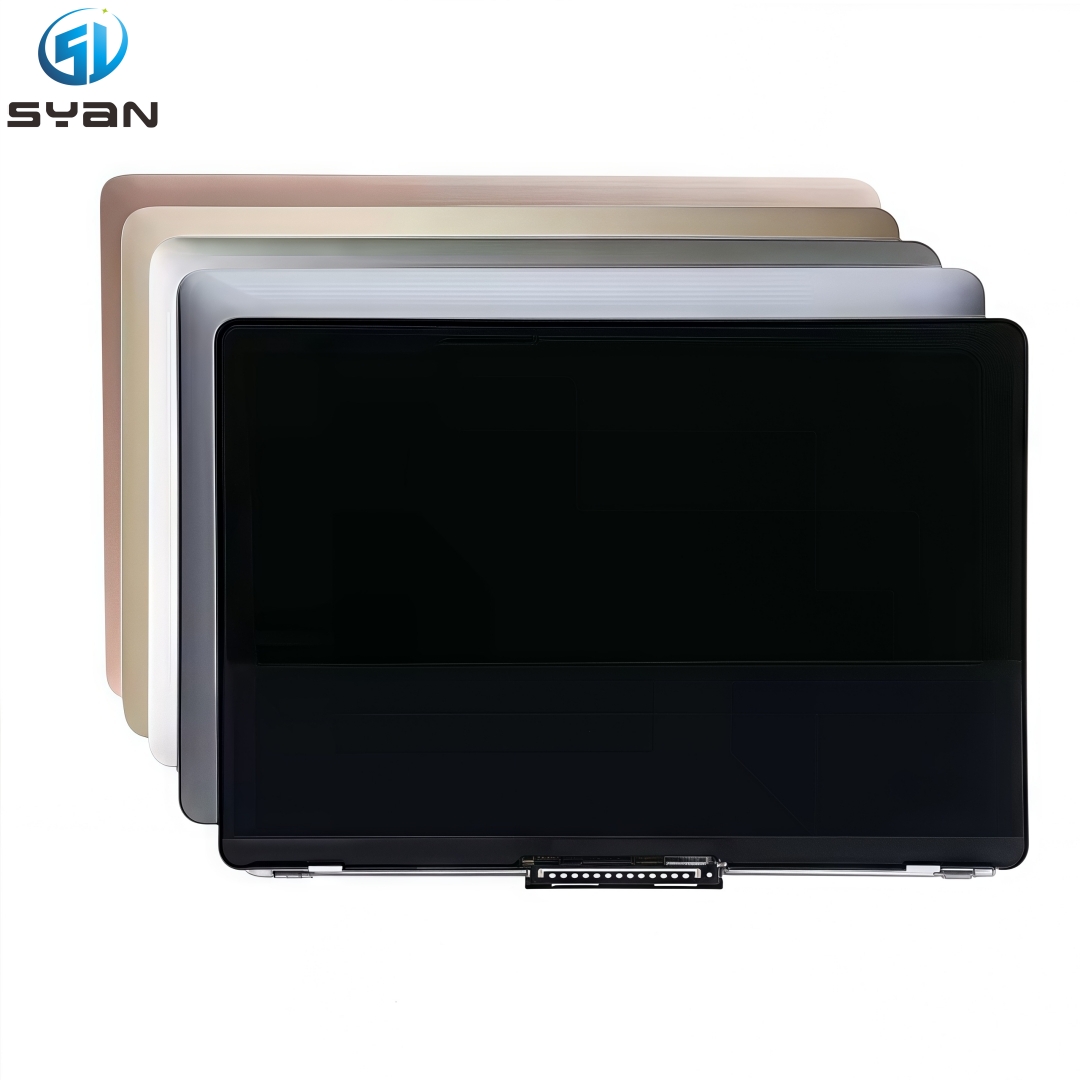
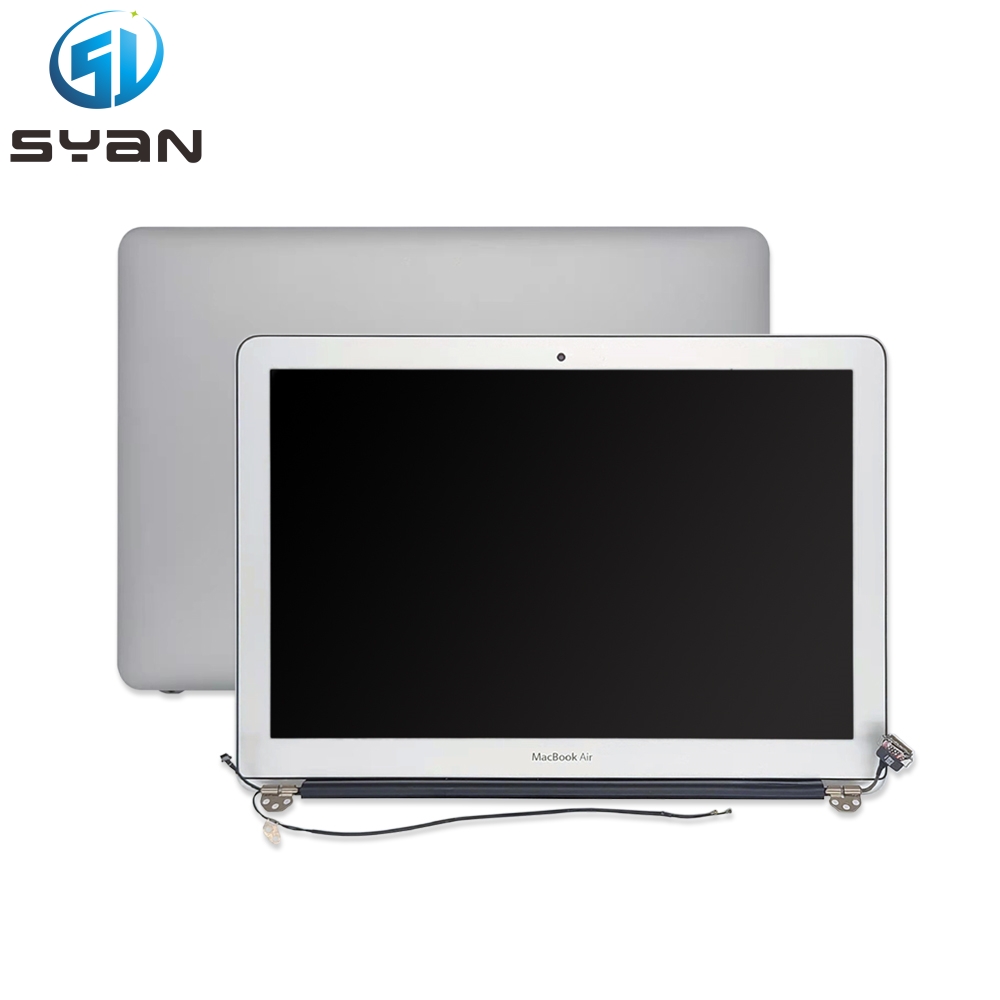
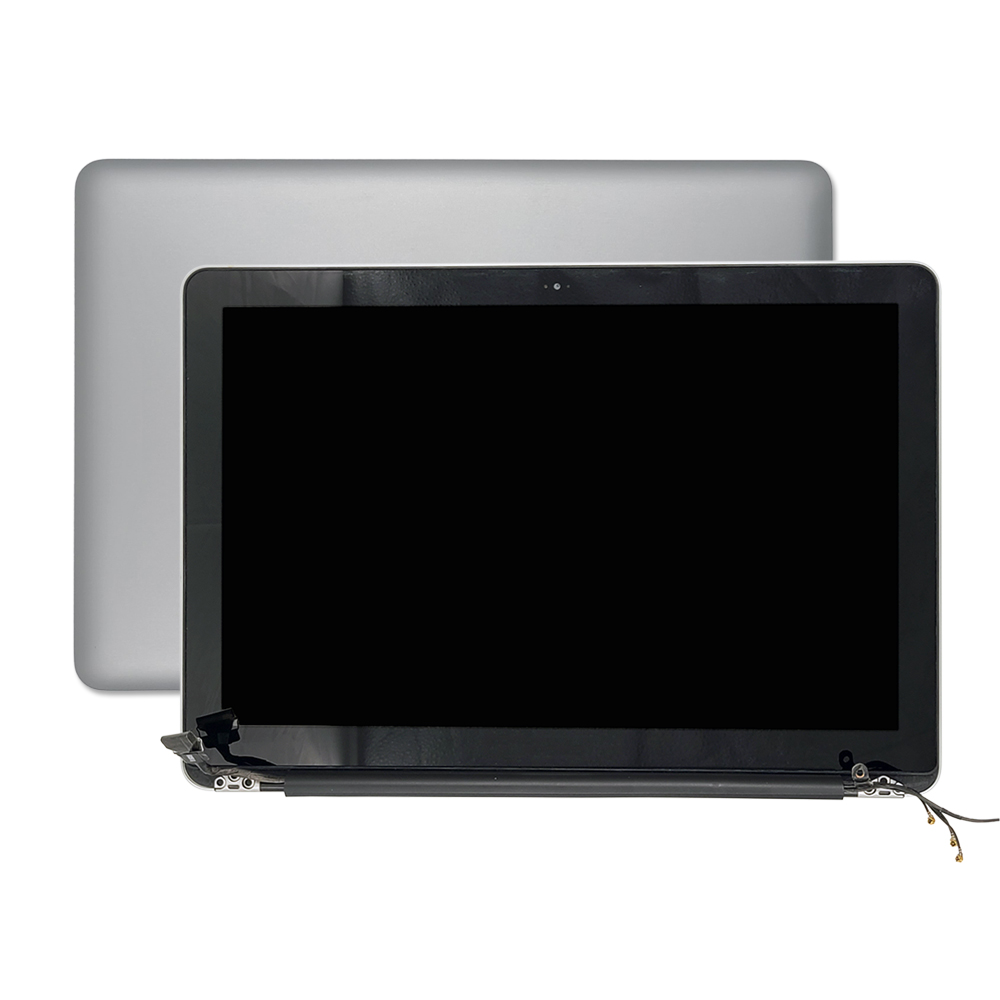
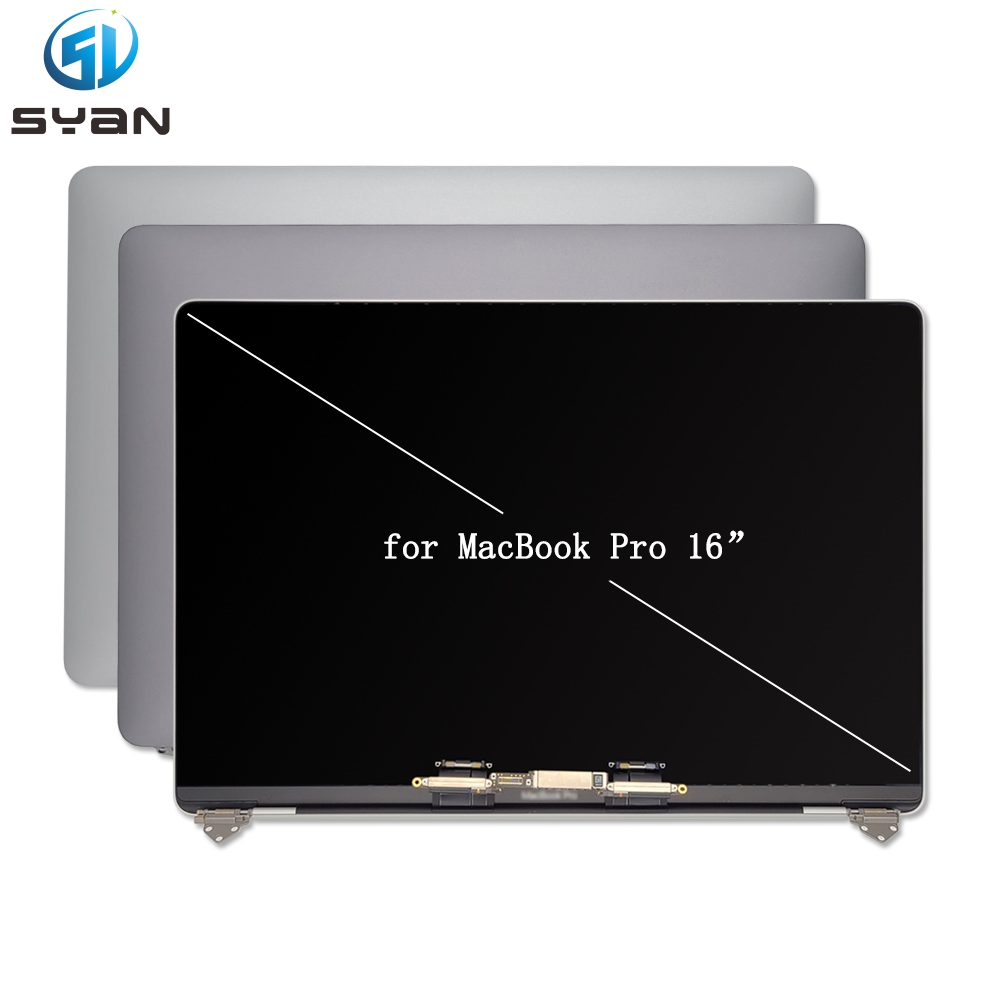
Full Display Assembly for MacBook Air 13.6-inch M4 (Model A3240)
1. Basic Overview & Usage Purpose
This is a
complete top lid display assembly, an all-in-one replacement unit including Retina LCD panel, glass cover, webcam module, hinge brackets, display flex cables, antenna cables and upper enclosure.
Main Purposes
- Replace physically damaged screens: cracked glass, broken LCD, vertical/horizontal lines, black screen, backlight failure, liquid corrosion.
- Fix display malfunctions: flickering screen, color distortion, dead pixels, unresponsive display output.
- Laptop repair shops stock spare parts for after-sales maintenance of 2025 MacBook Air M4.
- Used for unit refurbishment of second-hand MacBook Air A3240.
Note: Apple designs this machine as integrated assembly; the inner LCD panel cannot be separated from the top case for independent replacement officially.
2. Compatible Information
Supported Laptop Model
MacBook Air (13.6-inch, M4, 2025) | Model Number: A3240 | EMC 8781
Official Apple OEM Part Numbers (by color)
- Silver: 661-50103
- Starlight: 661-50104
- Midnight: 661-50105
- Sky Blue: 661-50106
Important Compatibility Reminder
❌
NOT interchangeable with A2681 (M2 2022) / A3113 (M3 2024). Although screen size is also 13.6-inch, flex cable layout, hinge screw positions, connector definition and sensor wiring are different. Installing wrong assembly will cause no display, camera failure or hardware damage.
✅ Must match both
Model A3240 and chassis color before purchasing.
3. Step-by-Step Replacement Tutorial
Preparations
Required Tools
ESD anti-static wristband, adjustable torque screwdriver, 3IP / 8IP Torx Plus bits, nylon spudger, tweezers, anti-static mat.
Precautions
- Shut down the laptop completely, disconnect power adapter.
- Work in dust-free, dry environment; avoid static electricity.
- Improper operation may void warranty and damage logic board.
- After installation, run Apple Repair Assistant for calibration if using genuine OEM parts.
Disassembly Steps
- Remove bottom case screws and take off the lower cover.
- Disconnect the battery flex cable first to cut power supply (critical safety step).
- Remove left & right speaker assemblies and antenna covers.
- Undo 2 × 3IP screws to remove the display cable shield bracket. Gently lift and disconnect display flex cable and camera flex cable from motherboard connectors.
- Remove the audio board shield, disconnect the lid angle sensor flex cable and peel off the adhesive cable.
- Support the display assembly steadily; remove six 8IP screws on left and right hinges.
- Lift the entire old display assembly away from the base unit slowly.
- Transfer the lid angle sensor from old assembly to the new display assembly.
Reassembly Steps
- Place the new complete display assembly into position carefully, avoid pinching any flex cables.
- Hand-tighten six hinge 8IP screws evenly, then torque to standard specification.
- Reconnect lid angle sensor cable, camera cable and main display flex cable; reinstall all shielding brackets.
- Restore speakers, antenna modules and all removed components in reverse order.
- Reconnect battery flex cable, install bottom case and secure all screws.
Post-install Test
- Power on the MacBook; check normal startup, display brightness, True Tone, camera and microphone function.
- Verify no abnormal screen flicker, screen shadow or hinge obstruction when opening/closing lid.
- Run display test to check for new dead pixels or uneven backlight.
4. English Product Description (Can be directly used for cross-border listing)
13.6 Inch Full LCD Display Assembly For MacBook Air M4 A3240 (2025)
Complete top screen assembly replacement for MacBook Air 13.6-inch M4 Model A3240 (2025). Retina resolution 2560 × 1600, integrated LCD, front glass, webcam, hinge brackets and flex cables. Suitable to repair cracked screen, black display, screen flickering, liquid damage and screen discoloration.
Strictly compatible only with A3240 EMC8781. Not fit A2681 / A3113. Please confirm laptop model and housing color before order. Every unit is fully tested before shipment. Professional installation recommended. Static protection required during replacement.