Guide to Replace MacBook Top Case (C Shell) Assembly
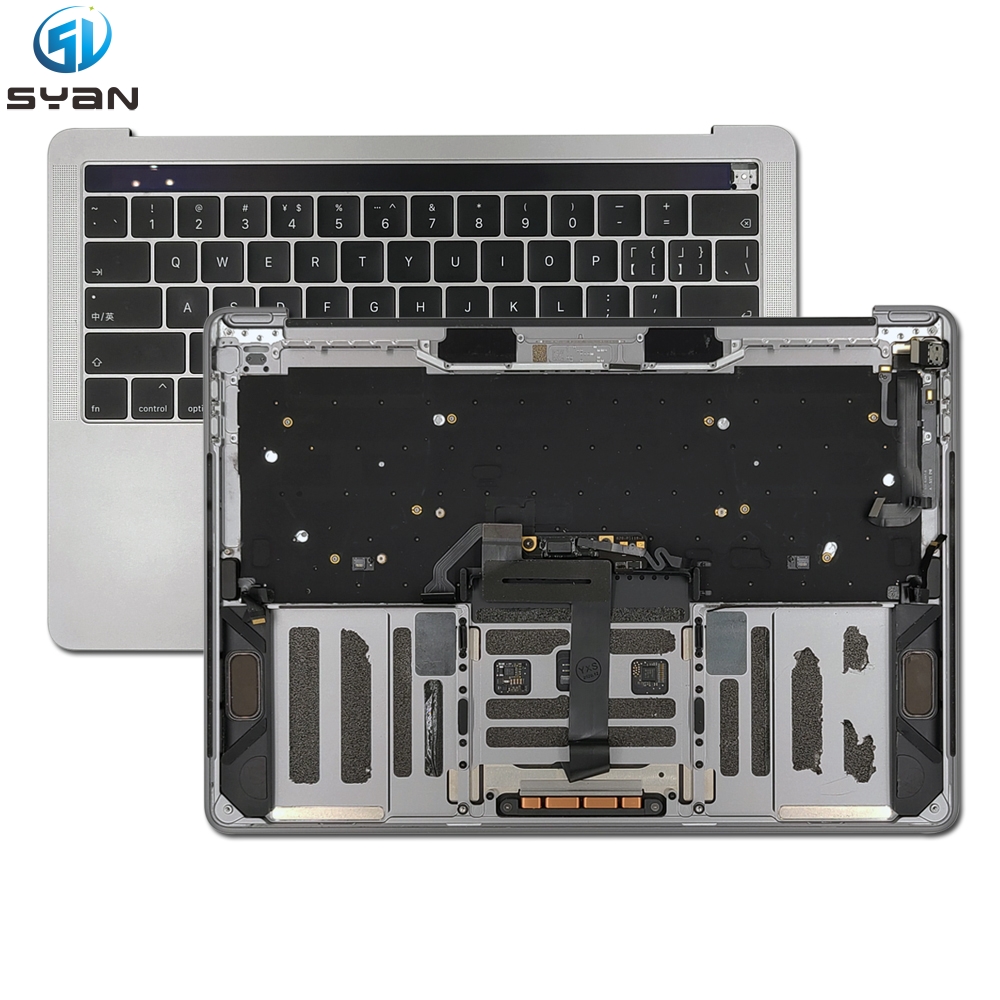
This guide covers full replacement of the MacBook C-shell assembly, which integrates the keyboard, Touch Bar, trackpad, speakers, and internal connecting cables as labeled in the diagram.
Components Included in the C Shell Assembly (Labeled on Image)
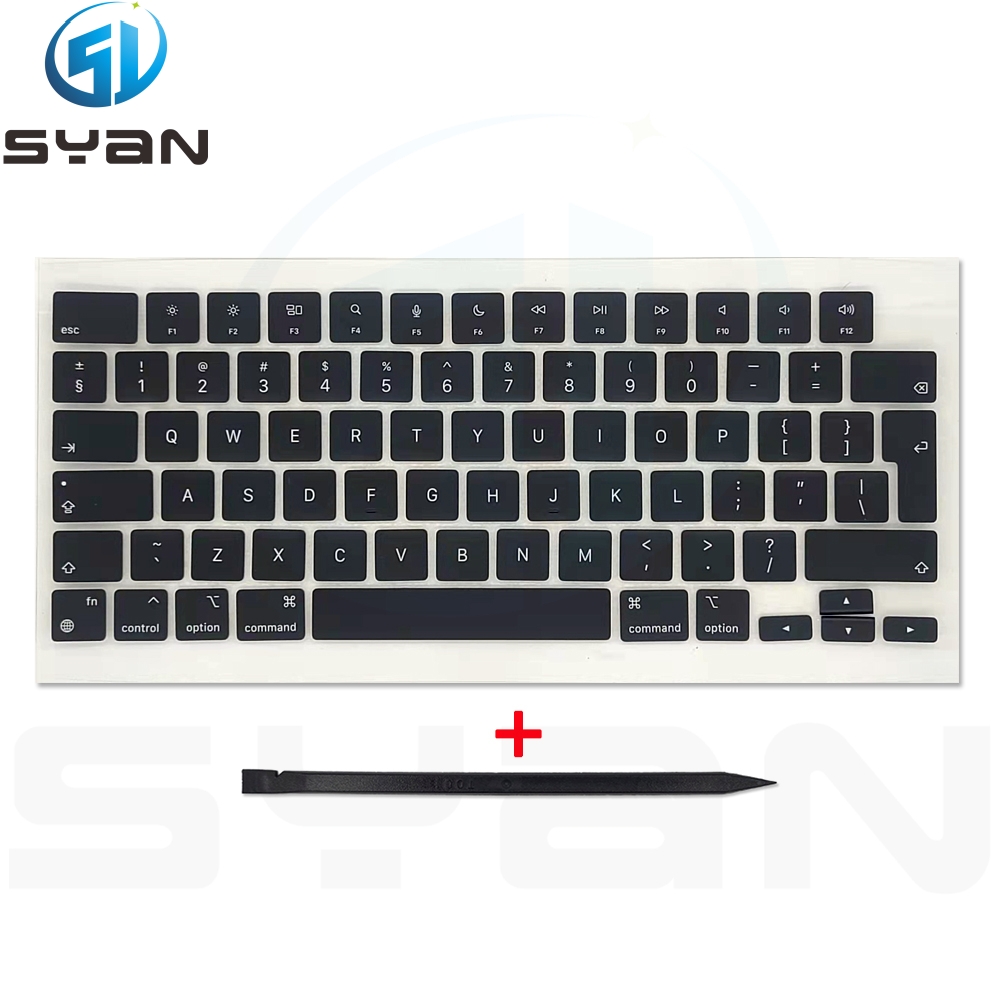
Keyboard: Built-in typing module mounted on the upper section of the housing
Touch Bar: Touch-sensitive function strip above the keyboard
Touchbar Cable: Flexible ribbon cable that links the Touch Bar to the main logic board
TP Cable (Touchpad Cable): Ribbon connector transmitting touch input from the trackpad
Touchpad: Clickable multi-touch tracking pad centered at the bottom of the shell
L Speaker (Left Speaker): Left audio speaker module on the bottom-left compartment
R Speaker (Right Speaker): Right audio speaker module on the bottom-right compartment
Step-by-Step Replacement Instructions
1. Preparations
Power off the MacBook completely, disconnect all chargers and peripherals.
Remove the bottom D-shell cover by unscrewing all retaining screws, then disconnect the internal battery connector to cut power and avoid short-circuit damage.
Disconnect all small ribbon cables linking the main board to the C-shell components (Touchbar Cable, TP Cable, speaker wires).
2. Separate the Original C Shell from the Display Assembly
Unfasten the hinge screws that secure the screen display to the C shell.
Carefully lift and detach the display unit, setting it aside on a soft anti-static mat to prevent screen scratches.
3. Remove Old C Shell Internal Components (If Reusing Parts)
If transferring reusable hardware from your faulty original C shell:
Peel back adhesive tape securing the L Speaker and R Speaker, then disconnect speaker wiring.
Unplug and extract the Touchpad by releasing its TP Cable ribbon connector.
Detach the Touch Bar and its matching Touchbar Cable from the upper housing slot.
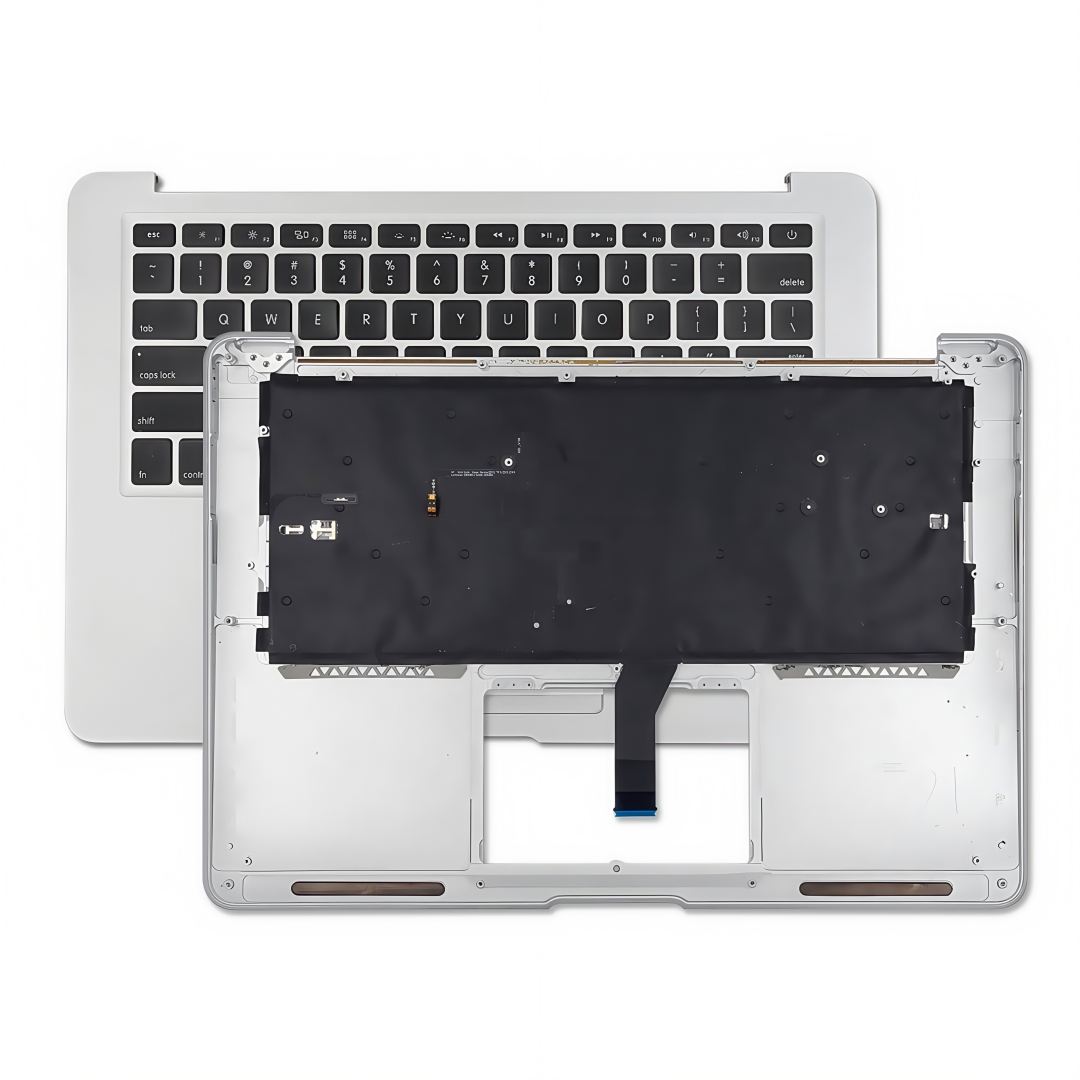
Extract the keyboard module from the metal frame of the old C shell.
4. Install Hardware into the New C Shell Assembly
Fit all salvaged parts into the replacement C shell following the layout shown in the reference image:
Secure the L Speaker to the left compartment and the R Speaker to the right compartment, reapply adhesive tape to fix them in place.
Mount the Touchpad in the central bottom slot, plug the TP Cable into its designated socket.
Slot the Touch Bar into the top edge channel, route and connect the Touchbar Cable to the internal header.
Secure the keyboard onto the upper frame of the new C shell.
5. Reconnect the MacBook Main Board
Route all ribbon cables (Touchbar Cable, TP Cable, speaker leads) back to their matching ports on the logic board.
Reconnect the battery connector to restore power supply.
6. Reassemble the Device
Align the display hinges with the new C shell and tighten all hinge screws evenly.
Fit the bottom D-shell cover back into position and reinstall all case screws.
Power on the MacBook to test all functions: keyboard typing, Touch Bar responsiveness, trackpad multi-touch gestures, and left/right speaker audio output.
Critical Notes
Handle all thin ribbon cables (Touchbar Cable, TP Cable) with extreme care; bending or tearing will break touch/function strip functionality.
Use an anti-static wristband during the whole process to avoid electrostatic damage to sensitive internal circuits.
Confirm every component matches the labeled layout in the diagram to prevent miswiring after assembly.