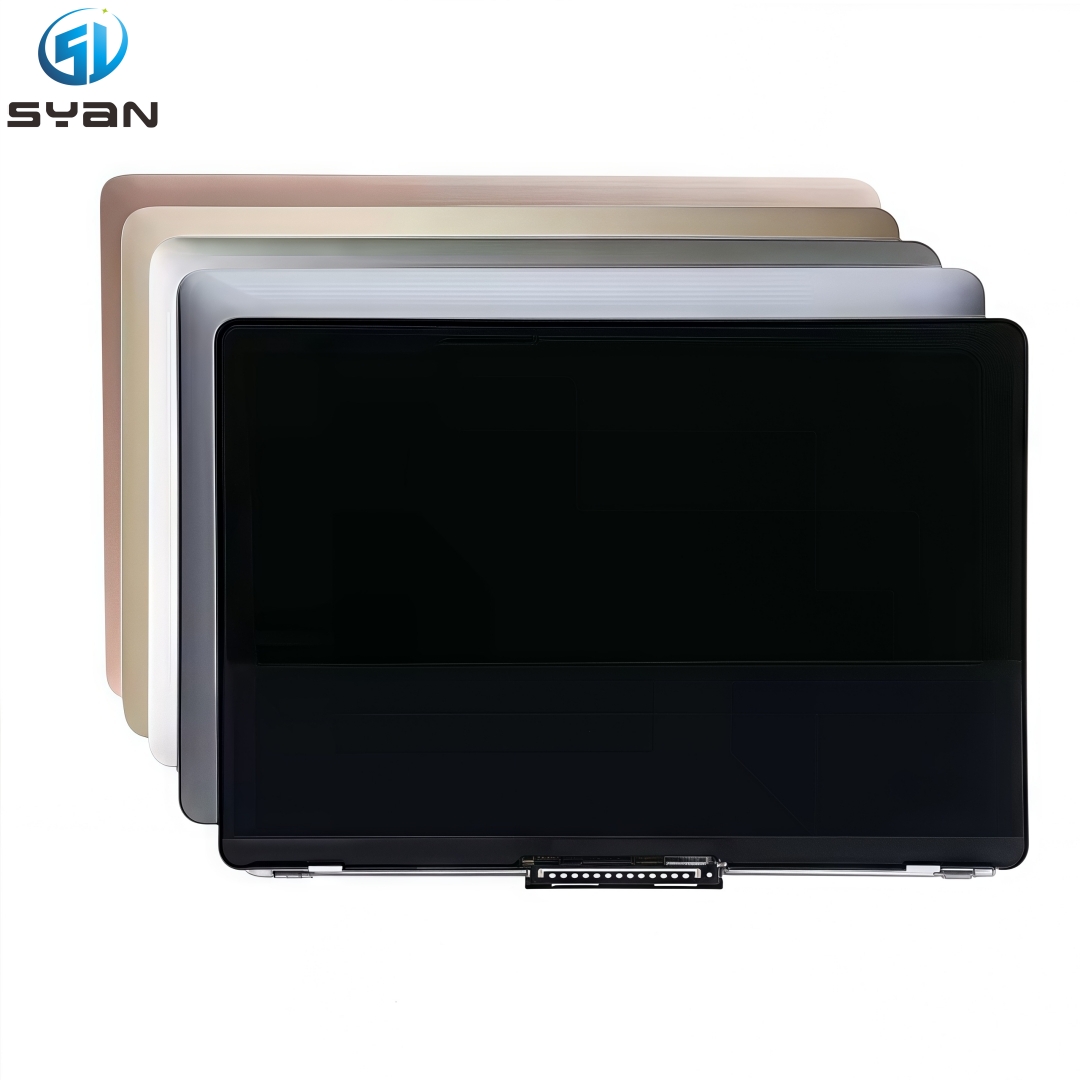
Macbook Pro Retina 16" A3403 A3186 M3 M4 Full LCD Screen Assembly 2023 2024
SKU:
5.0(12)
98 Sold
$327.00$0.00
How to Replace MacBook Pro 16 Inch Retina Display A3403 A3186 – Complete Step-by-Step Repair Guide
Introduction
This professional DIY repair guide shows you how to replace the screen assembly on MacBook Pro 16-inch Retina models A3403 and A3186. These models belong to Apple Silicon M1 / M2 Pro / Max generation with fully integrated top lid display assembly. This tutorial is optimized for Google search indexing, clear structure, standard technical terms, suitable for e-commerce listing, blog post and repair website publishing.
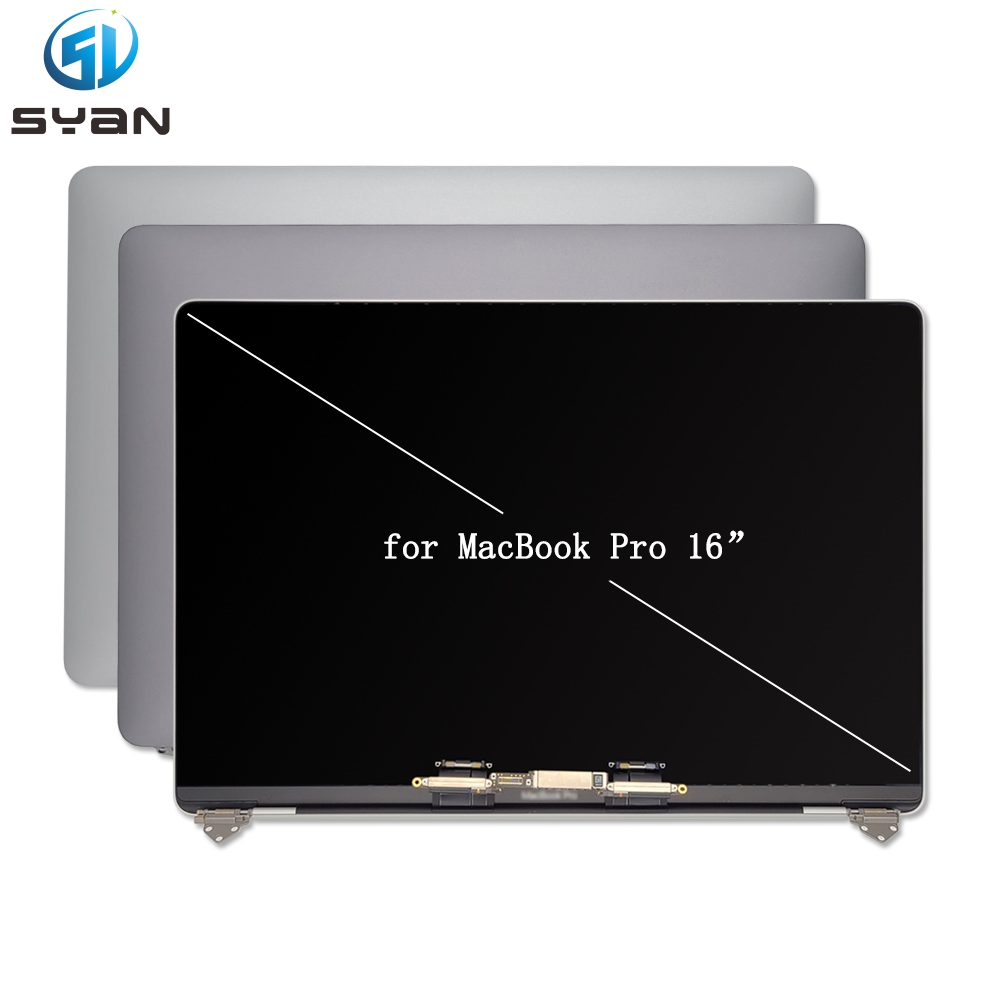
Compatible Models
MacBook Pro 16‑inch A3403
MacBook Pro 16‑inch A3186
Full Retina LCD Touch Bar version, complete top display assembly replacement only
Required Repair Tools
Anti-static wrist strap and anti-static mat
Torx T3 / T5 / 8IP screwdriver set
Plastic opening pry tools
Suction cup
Lint-free cleaning cloth
Isopropyl alcohol
Magnetic screw mat (for screw classification)
Pre-Repair Safety Notice
Fully shut down your MacBook Pro and disconnect all chargers and peripherals.
Hold the power button for 10 seconds to release residual power.
Always work on an anti-static mat to avoid static damage to the logic board and flex cables.
Place a soft cloth under the device to prevent aluminum body scratches.
Back up all important data before disassembly to avoid accidental data loss.
Step 1: Remove Bottom Case Cover
Place the MacBook Pro upside down on a soft surface.
Unscrew all bottom case screws with Torx 8IP driver.
Use plastic pry tool to gently unclip the bottom cover along the edge.
Lift off the bottom case and put it aside.
Step 2: Disconnect Battery Connector
Locate the battery flex connector on the main board.
Use plastic pry tool to lift the battery connector vertically upward.
Never bend or twist the connector pins to avoid permanent damage.
Disconnecting the battery is mandatory before any screen cable operation.