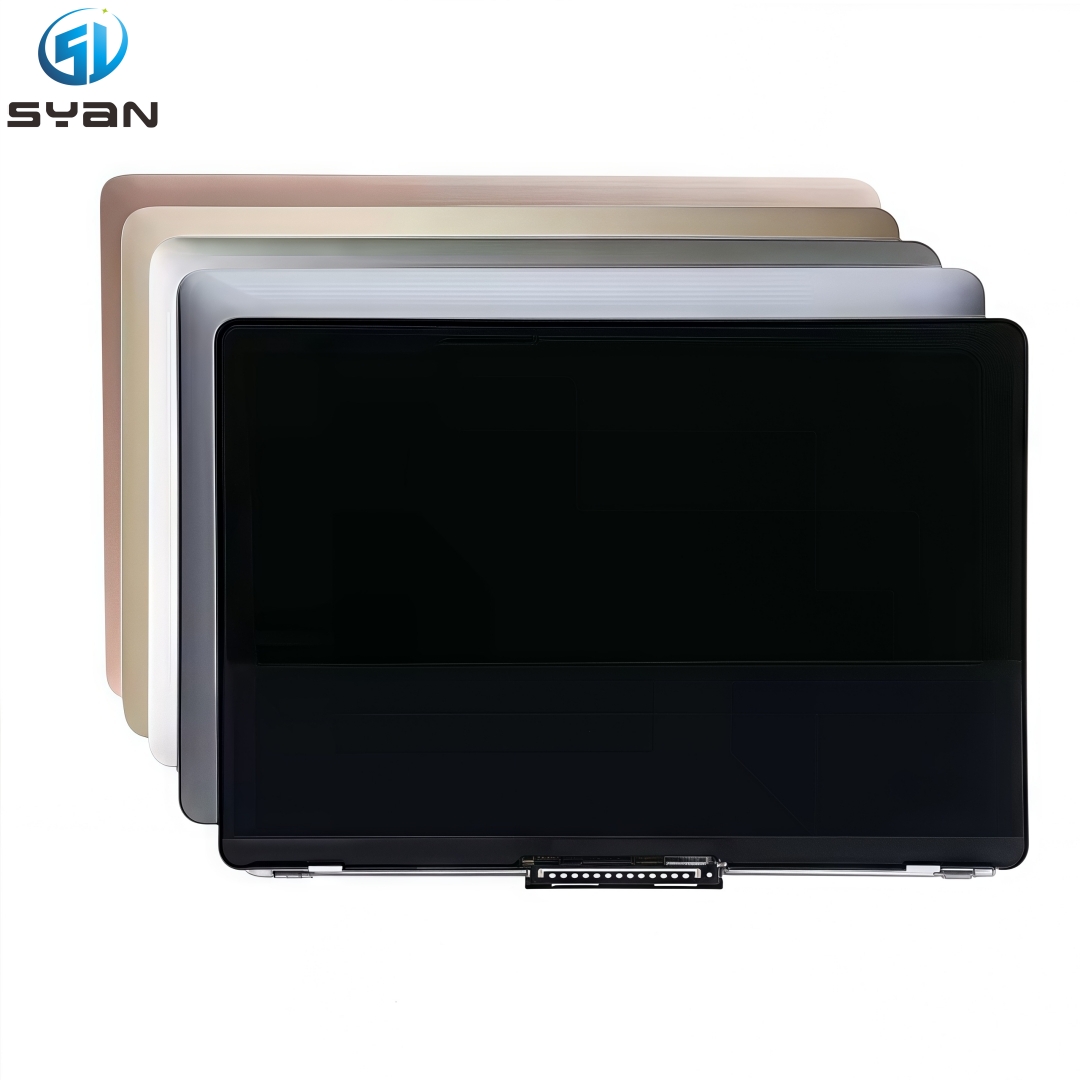
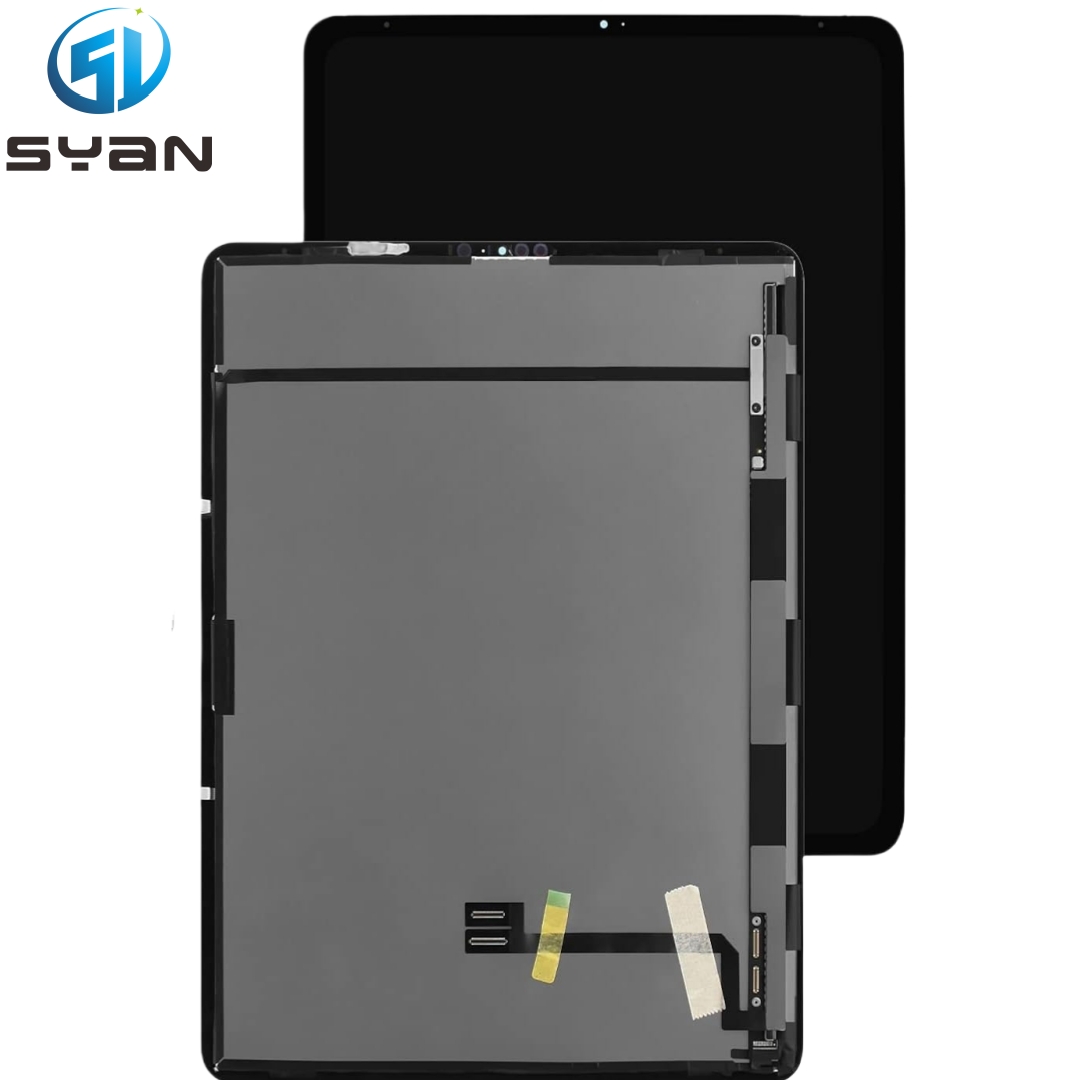
Macbook Pro Retina 14" A3112 A3185 A3401 M3 M4 Full LCD Screen Assembly 2023 2024
SKU:
0.0(0)
0 Sold
$396.00$0.00
How to Replace MacBook Pro 14-inch Retina Display (A3112, A3185, A3401) – Step-by-Step Repair Guide
This tutorial covers screen replacement for MacBook Pro 14-inch Retina models A3112, A3185, A3401 (2021–2024, Apple Silicon M1/M2/M3). It is optimized for Google SEO, with clear steps, tool lists, and safety notes for DIY repair.
Key Model Compatibility
A3112: MacBook Pro 14-inch, 2021 (M1 Pro/Max)
A3185: MacBook Pro 14-inch, 2023 (M2 Pro/Max)
A3401: MacBook Pro 14-inch, 2024 (M3 Pro/Max)
All models use a Retina IPS LCD display assembly (fully integrated with camera, sensor, and eDP cables).
Required Tools & Parts
Tools
Torx Plus 8IP screwdriver (for hinge screws)
Torx T3 screwdriver (for cable cowlings)
Plastic pry tools (non-conductive, anti-scratch)
Suction cup (for safe panel separation)
Anti-static mat & wrist strap (critical for logic board protection)
Soft microfiber cloth (to protect screen during repair)
Replacement Part
14-inch Retina display assembly (compatible with A3112/A3185/A3401; includes eDP, camera, backlight, and lid angle sensor cables)
Lid angle sensor (must be replaced with the display per Apple guidelines)Apple Support
Safety Preparations (Critical First Steps)
Back up all data via Time Machine or iCloud to avoid data loss.
Power off the MacBook: Shut down, disconnect the charger, and hold the power button for 10 seconds to discharge residual electricity.
Work on an anti-static mat and wear an anti-static wrist strap to prevent static damage to the logic board.
Place a soft cloth on your work surface to avoid scratching the MacBook’s aluminum casing.
Step 1: Remove the Bottom Case
Lay the MacBook keyboard-side down on the soft cloth.
Use a Torx Plus 8IP screwdriver to remove the 10 bottom screws (note: 2 longer screws near the hinge; keep screws organized by length).
Insert a plastic pry tool into the seam between the bottom case and the frame. Gently pry along the edges to release the clips.
Lift the bottom case and set it aside.
Step 2: Disconnect the Battery (Mandatory for Safety)
Locate the battery connector (marked with a ⚠️ symbol) on the logic board.
Use a plastic pry tool to gently lift the battery connector straight up (do not twist or bend the pins).
Step 3: Disconnect Display Cables & Cowlings
Lid angle sensor cowling: Use a T3 screwdriver to remove 2 × T3 screws from the lid angle sensor connector cowling. Lift the cowling and set it asideApple Support.
Display connector cowlings: Remove 4 × T3 screws (2 per cowling) from the two display connector cowlings. Lift both cowlings and store them safelyApple Support.
Disconnect flex cables: Gently lift the ends of three cables from the logic board connectors:
Display backlight power flex cable
FaceTime HD camera flex cable
eDP (embedded DisplayPort) flex cableApple Support
Release cable clips & bumpers: Lift the display cable clips off the internal frame, then fold them back. Remove the display cable bumpers and set them aside for reassemblyApple Support.
Step 4: Remove the Old Display Assembly
Position the MacBook: Open the screen to 90°, then lay the MacBook keyboard-side down on the table edge so the screen hangs freely downward. Support the screen with one hand.
Remove hinge screws: Use an 8IP Torx Plus driver to remove the 6 × 5.2 mm hinge screws (3 per hinge) securing the display to the frame.
Lift the display: Slowly close the screen to a 30° angle. Lift the left hinge first, then the right hinge, to separate the display assembly from the MacBook body. Pull the display forward gently to free it completely.
Step 5: Install the New Display Assembly
Prepare the new display: Align the new assembly with the MacBook’s hinge recesses. Feed the flex cables through the hinge area carefully (avoid twisting or bending cables).
Secure hinges: Lower the display into place, align the hinge screw holes, and reinstall the 6 × 8IP hinge screws (torque to 0.8–1.0 Nm; do not over-tighten).
Reconnect cables:
Route the display flex cables around the cable bumpers.
Press the eDP, camera, and backlight cables firmly into their logic board connectors.
Reinstall the display cable clips and bumpers.
Reattach cowlings:
Place the two display connector cowlings over the cables and secure with 4 × T3 screws.
Place the lid angle sensor cowling and secure with 2 × T3 screws.
Step 6: Reconnect Battery & Test the Display
Reconnect the battery: Align the battery connector pins and press down firmly until it clicks into place.
Test the display:
Reconnect the charger and power on the MacBook.
Verify: screen brightness, color accuracy, camera function, True Tone, and auto-brightness (all features should work if the display is genuine and compatible).
If issues occur, power off and recheck cable connections (especially the eDP cable).
Step 7: Reassemble the MacBook
Install the bottom case: Align the clips, press the case into place, and reinstall the 10 bottom screws (match screw lengths to original positions).
Run Repair Assistant (Apple Silicon only): After reassembly, follow on-screen prompts to run Repair Assistant (required to calibrate the new display and restore full functionality)Apple Support.
Post-Repair Tips & Troubleshooting
Tips
Use only genuine or high-quality OEM display assemblies for A3112/A3185/A3401 to avoid compatibility issues.
Keep all screws organized by location and length to prevent loss or misinstallation.
Clean the display and camera lens with a lint-free cloth and isopropyl alcohol after installation.
Common Issues
No display: Recheck the eDP cable connection; ensure the battery is fully reconnected.
Dim backlight: Verify the backlight power cable is seated correctly.
Camera not working: Reconnect the FaceTime camera flex cable firmly.
True Tone missing: Ensure the lid angle sensor is replaced and Repair Assistant is run.
SEO Keywords (for Google Discovery)
MacBook Pro 14-inch A3112 screen replacement, MacBook Pro A3185 display repair, MacBook Pro A3401 Retina screen fix, how to replace MacBook Pro 14-inch display, Apple Silicon MacBook Pro screen replacement guide.