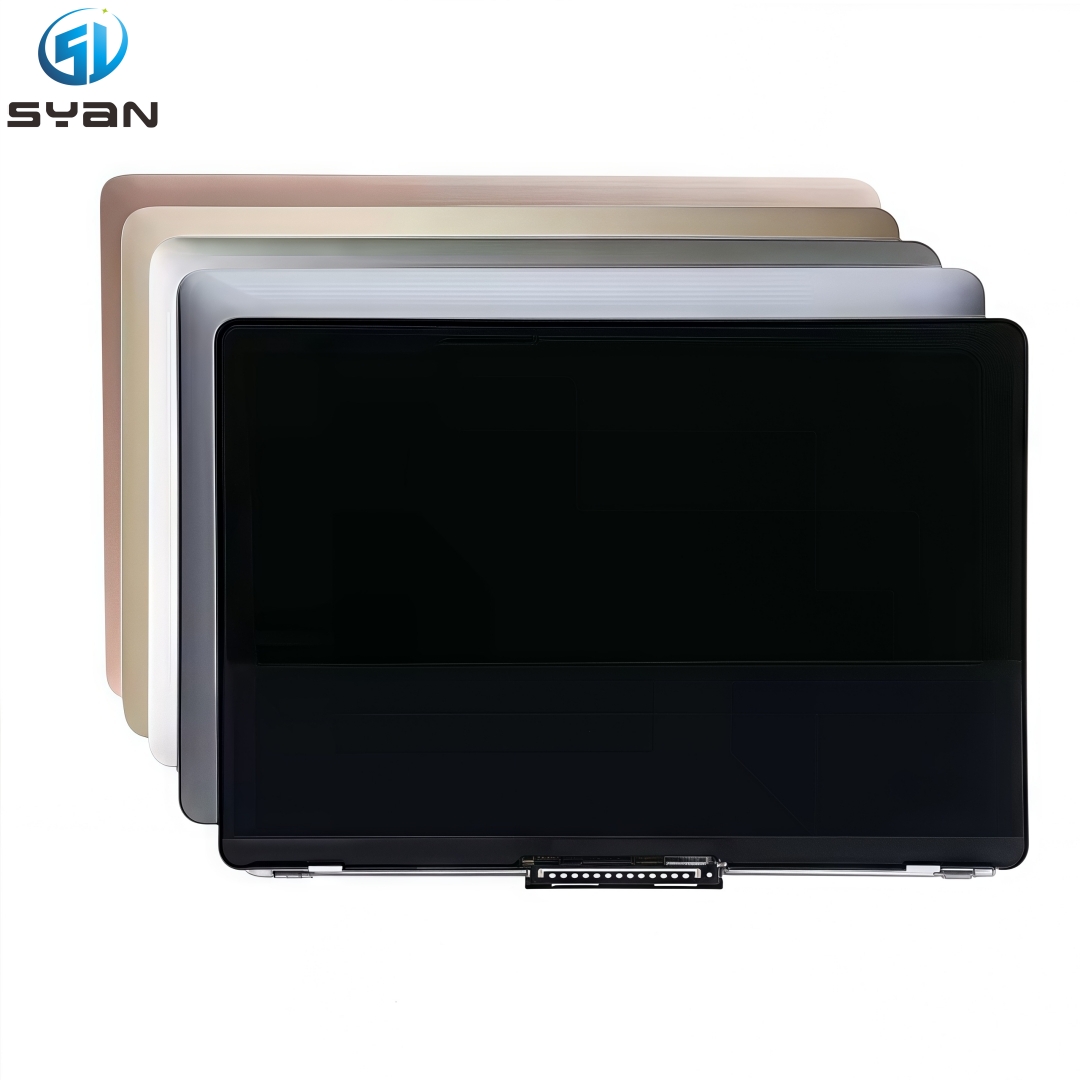
Model: MacBook Air 13.6 inch A2681 (M2 Chip, Year 2022)
Full LCD Display Assembly Replacement Tutorial
Table of Contents
Safety Precautions
Required Tools
Step-by-Step Display Replacement Instructions
Installation & Testing Guide
Important Notes
Safety Precautions
Before starting the MacBook Air A2681 screen replacement, please fully power off your laptop. Disconnect the battery first to avoid short circuits, motherboard damage or screen burn. Do not pull flexible cables violently. All screws have different lengths; please store them separately by position. Use anti-static tools to protect internal components. This tutorial is for complete LCD display assembly replacement, not separate glass repair.
Required Repair Tools
Pentalobe P5 screwdriver (bottom case screws)
Torx T3 / T5 screwdrivers
Plastic spudger & pry tools
Tweezers
Anti-static wrist strap
Soft anti-scratch mat
Step-by-Step A2681 Display Replacement Guide
Step 1: Remove the bottom cover
Place your MacBook Air A2681 upside down on a soft pad. Remove all Pentalobe screws on the bottom case. Gently pry the bottom cover with a plastic spudger and take it off completely.
Step 2: Disconnect the battery power supply
Locate the battery connector on the logic board. Use a plastic spudger to carefully lift and disconnect the battery flex cable. This step cuts off all power and ensures safe screen replacement.
Step 3: Remove cable protection brackets
Remove the fixed screws of the display cable protection cover on the motherboard. Take off the metal brackets and cable bumpers carefully.
Step 4: Disconnect display flex cables
Gently disconnect the eDP display cable, backlight cable and camera sensor flex cable from the logic board. Do not twist or fold the flexible wires.
Step 5: Remove hinge screws & old screen assembly
Open the MacBook Air fully. Remove the Torx screws fixing left and right screen hinges. Hold the display steadily, then slowly separate the original broken LCD display assembly from the top case body. Take out the old screen carefully.
Step 6: Install new A2681 LCD display assembly
Align the new replacement display assembly with original hinge positions perfectly. Reinstall and tighten all hinge screws firmly. Reconnect the display flex cable, backlight cable and camera sensor cable correctly.
Step 7: Reinstall brackets & reconnect battery
Put back all metal cable protection brackets and tighten fixing screws. Reconnect the battery flex cable securely.
Step 8: Reassemble bottom case & power on test
Install the bottom cover back and lock all bottom screws. Power on your MacBook Air A2681. Test screen display, brightness adjustment, color effect, sleep wake function, camera and backlight status. Make sure all functions work normally before finishing repair.
Important Notes
This guide only fits MacBook Air 13.6 inch A2681 M2 2022, not other models.