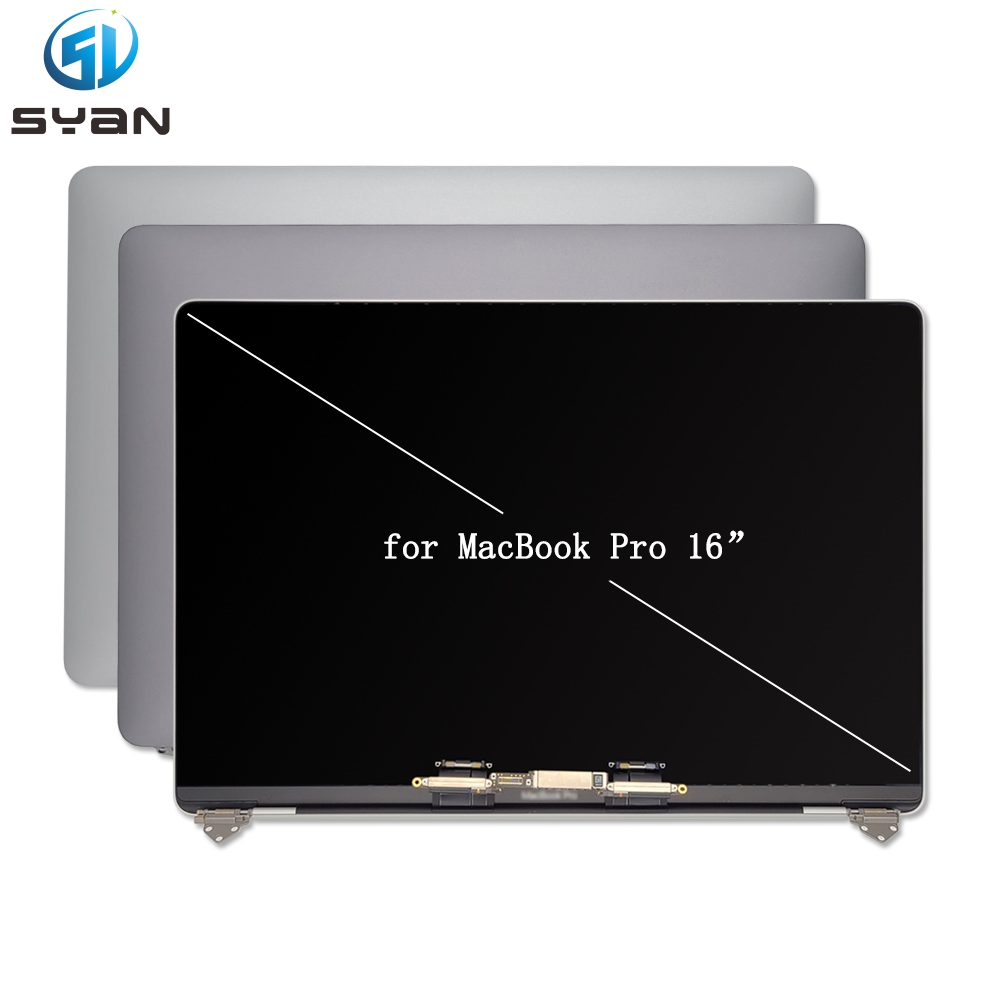
MacBook Pro 16-inch (A2485) Retina Screen Replacement Guide
DIY Step-by-Step Tutorial for 2021 M1 Pro/Max Model – Easy & SEO-Friendly
Overview
This guide shows you how to safely remove and install the Retina display assembly on a MacBook Pro 16-inch, model A2485 (2021, M1 Pro/Max). Replacing the screen fixes cracked, flickering, or dead displays. Note: Aftermarket display replacement will disable the True Tone function.
Tools You Need
P5 Pentalobe screwdriver (for bottom case)
T3 Torx screwdriver (for display connectors)Apple Support
T8 Torx screwdriver (for hinge screws)
Nylon spudger (plastic pry tool)
Anti-static wrist strap (recommended)
Magnetic mat (to organize screws)
Safety Preparations
Fully power off the MacBook and unplug all cables.
Drain the battery to under 25% to reduce fire risk if the battery is punctured.
Work on a clean, static-free surface. Use an anti-static wrist strap.
Let the device cool to room temperature before starting.
Step 1: Remove the Bottom Case
Close the laptop and flip it upside down.
Use a P5 Pentalobe driver to remove the 8 screws:
Four × 9.1 mm screws
Four × 5 mm screws
Insert a nylon spudger into the seam. Gently pry up the bottom case.
Lift the bottom case off and set it aside.
Step 2: Disconnect the Battery (Critical!)
Locate the battery connector on the logic board (red outline).
Use a spudger to gently lift the battery connector straight up.
Confirm the battery is disconnected to avoid short circuits.
Step 3: Remove Display Connector Cowlings
Locate the two display connector cowlings near the fans.
Use a T3 Torx driver to remove the four T3 screws (2 per cowling).Apple Support
Lift off both cowlings and store them safely.
Step 4: Disconnect Display Cables
Three flex cables connect the display:
(1) Backlight power cable
(2) FaceTime camera cable
(3) eDP display data cableApple Support
Use a spudger to lift each connector straight up to disconnect.
Work slowly; these cables are fragile.Apple Support
Step 5: Release Display Cable Clips & Bumpers
Lift the black plastic cable clips from the internal frame.
Fold the clips back to reveal the rubber cable bumpers.
Lift and remove the bumpers. Keep them for reassembly.
Repeat for both sides.Apple Support
Step 6: Disconnect Lid Angle Sensor
Locate the lid angle sensor connector near the right hinge.
Remove the cowling: 2 × T3 screws.Apple Support
Disconnect the sensor flex cable with a spudger.
Step 7: Remove Hinge Screws
Fully open the display so it hangs over the edge of the table.
Use a T8 Torx driver to remove the six T8 hinge screws (3 per side).
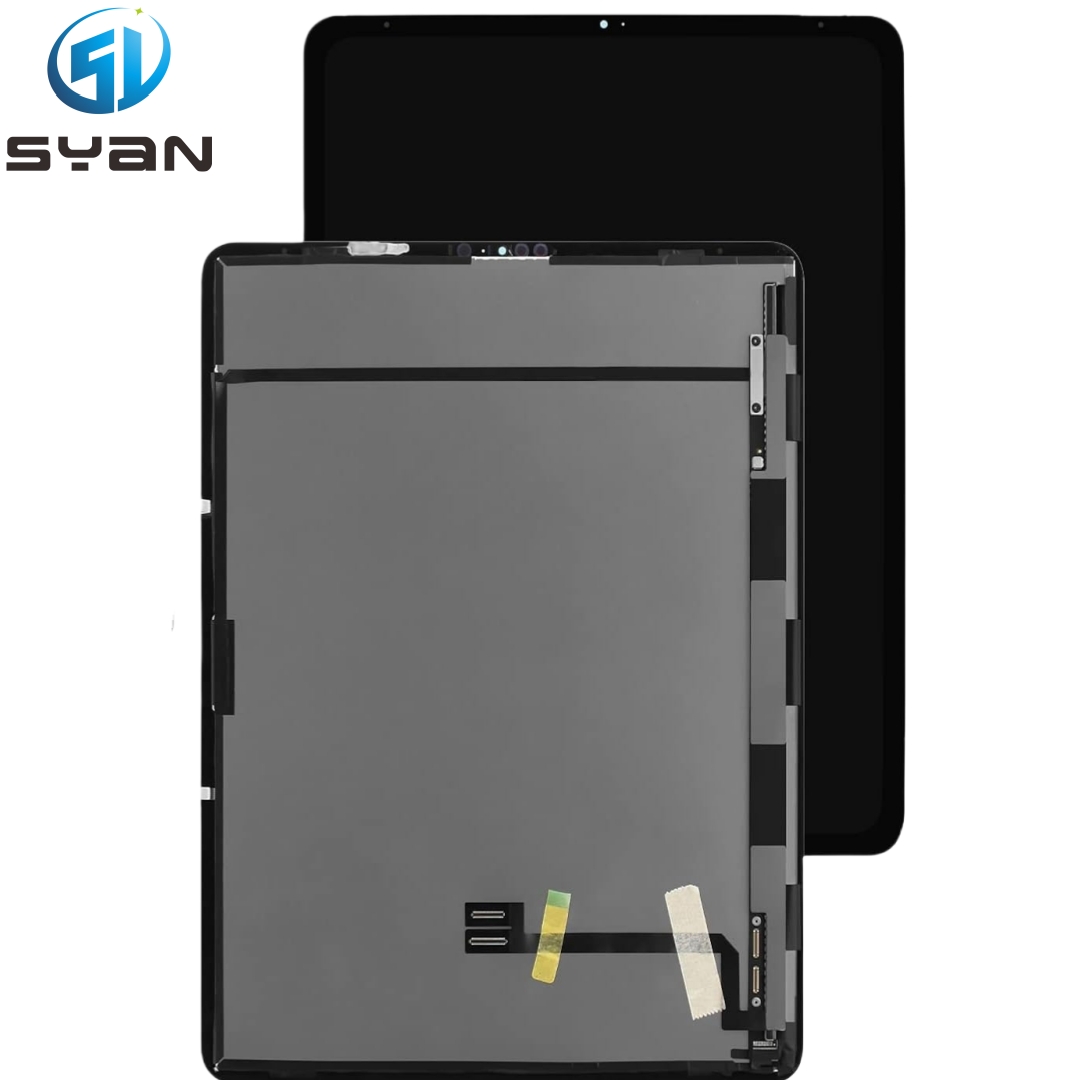
Step 8: Remove the Old Display
Hold the display assembly firmly with both hands.
Support it to avoid sudden falls.
Slide the display toward the body to free the hinges.
Lift and pull the display toward you to remove it completely.
Step 9: Install the New Display
Align the new display hinges with the frame openings.
Insert the hinges into the frame and slide them into place.
Hand-tighten the T8 hinge screws (do not fully tighten yet).
Step 10: Reconnect Cables & Sensors
Reinstall the lid angle sensor and its cowling (2 × T3 screws).
Reinsert the rubber cable bumpers into their original positions.
Fold down the cable clips and snap them into place.
Reconnect the three display flex cables:
Align each connector and press down firmly until it clicks.
Reinstall the display connector cowlings (4 × T3 screws).
Step 11: Reconnect the Battery
Align the battery connector and press down firmly.
Ensure the connection is secure.
Step 12: Reattach the Bottom Case
Align the bottom case and press down until it clicks into place.
Reinstall the 8 P5 screws (4 × 9.1 mm, 4 × 5 mm).
Step 13: Test the New Display
Plug in the charger and power on the MacBook.
Check for:
Clear, bright image (no flickering or lines)
Functional brightness control
Working camera and microphone
If issues occur, power off and recheck all cable connections.
Pro Tips for Best Results
Screw organization: Use a magnetic mat to avoid losing small screws.
Cable care: Never bend flex cables sharply; handle by the connectors.
Alignment check: After installation, open/close the lid to ensure smooth movement. Adjust hinges if there’s rubbing or clicking.
True Tone note: Third-party displays will not support True Tone. Original Apple displays retain this feature.
Troubleshooting Common Issues
No display (black screen): Check battery connection and display cable seating.
Flickering screen: Loose eDP cable or damaged connector.
Dim or washed-out colors: Backlight cable not fully connected.
Camera not working: FaceTime cable misaligned.
Final Thoughts
Replacing the MacBook Pro 16-inch A2485 screen is manageable with patience and the right tools. This DIY repair saves time and money compared to professional service. Always work slowly, keep parts organized, and test thoroughly before full reassembly.
Keywords: MacBook Pro 16-inch A2485 screen replacement, 2021 M1 Pro Max display repair, DIY MacBook screen fix, Retina display replacement guide