iPhone 14 Pro Max Display Screen Replacement Guide (English Full Version)
Professional & standard English, suitable for Amazon listing, repair shop manual, customer instruction page.
Product Information
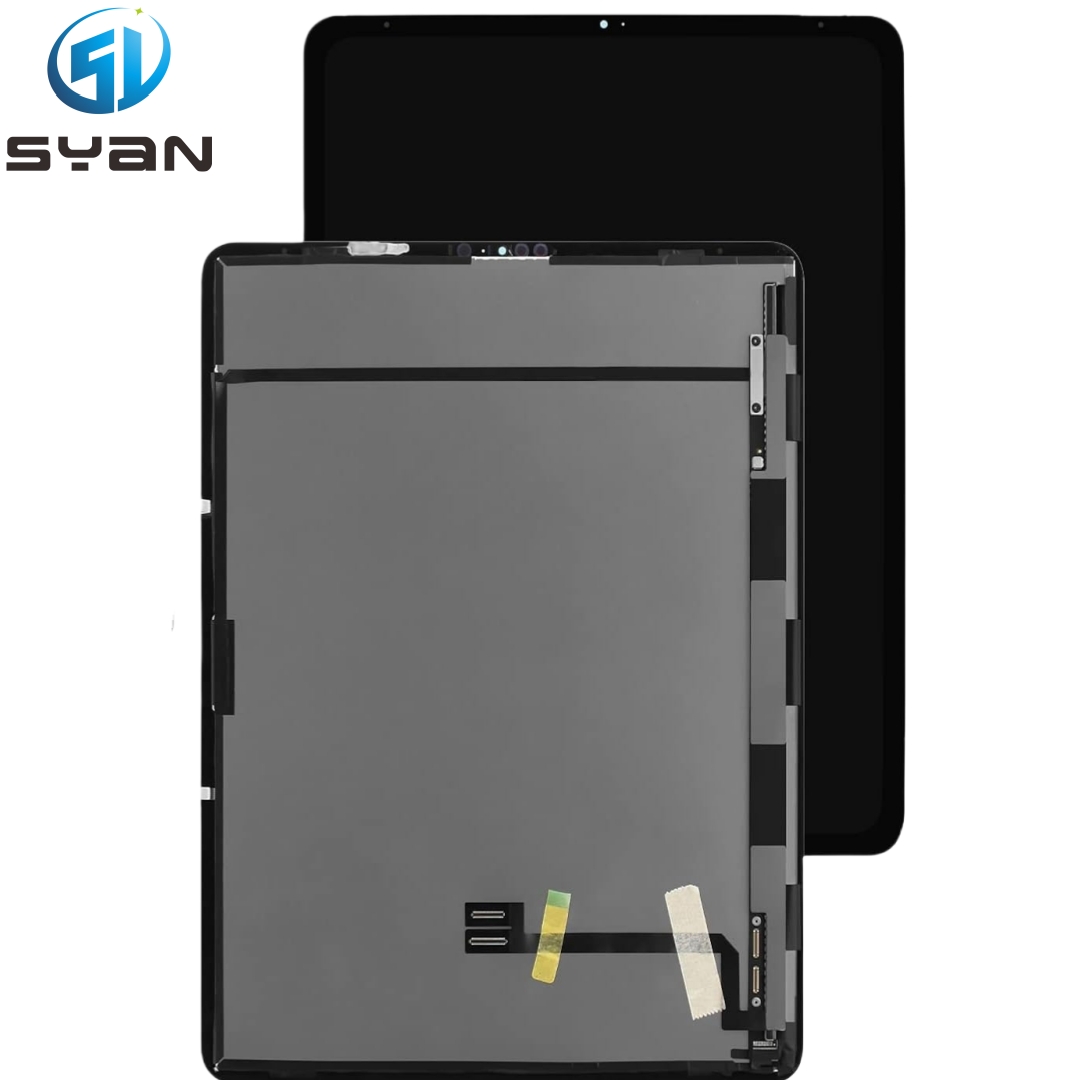
This guide applies to iPhone 14 Pro Max 6.7 inch full display assembly replacement, including OLED screen, touch digitizer, face ID sensor bracket.
Safety Notes Before Operation
Fully power off your iPhone before starting any repair.
Remove SIM card tray first to avoid damage.
Use anti-static tools to prevent short circuit damage to motherboard.
Do not bend or pull display flex cables violently.
Screws are different lengths; please classify and store them separately.
Face ID will not be damaged during whole screen replacement process.
Required Repair Tools
Pentalobe P2 screwdriver (bottom screws)
Phillips PH000 screwdriver
Metal & plastic pry tools
Suction cup
Tweezers
Adhesive tape for waterproof frame
Isopropyl alcohol
Step-by-Step Replacement Tutorial
Step 1: Remove Bottom Pentalobe Screws
Place the iPhone flat. Remove two Pentalobe bottom screws at the charging port edge.
Step 2: Separate Back Cover & Lift Screen
Use suction cup to lift the screen slightly. Insert plastic pry tool and gently slide around the edge to loosen waterproof adhesive.
Slowly open the screen at an angle, do not flip it completely backwards, avoid breaking internal flex cables.
Step 3: Disconnect Battery Connector First
Remove the metal battery protection bracket screws with PH000 screwdriver. Take off the bracket.
Use plastic spudger to disconnect battery flex cable connector to cut off power completely.
Step 4: Remove Display & Touch Cable Bracket
Remove the metal cover screws of display flex connectors. Take off the protection bracket.
Gently disconnect display OLED flex, touch flex cable and front sensor flex cable one by one.
Step 5: Remove Original Broken Screen Assembly
Take out the old damaged iPhone 14 Pro Max display assembly carefully.
Clean residual old adhesive on phone frame with alcohol and pry tool.
Step 6: Transfer Original Parts to New Screen
Move original earpiece speaker, proximity sensor, front camera and face ID sensor module to the new display assembly.
Do not damage face ID sensor flex cable, otherwise face ID function will fail.
Step 7: Install New Display Assembly
Connect display flex, touch flex and sensor flex cables back to motherboard correctly.
Reinstall metal cable protection bracket and tighten screws.
Reconnect battery connector.
Step 8: Test Screen Function Before Sealing
Power on iPhone. Test following functions:
Display color & brightness
3D Touch / touch sensitivity
Front camera
Face ID unlock
Speaker & proximity sensor
Automatic sleep wake function
Step 9: Reseal Waterproof Adhesive & Close Screen
Apply new waterproof frame adhesive on phone edge.
Align screen and press tightly around edges.
Reinstall two bottom Pentalobe screws.
Important Tips
iPhone 14 Pro Max uses OLED screen, do not press screen surface heavily.
Original true tone function needs system automatic calibration after replacement.
Please keep frame clean and dust-free before closing screen.
Professional operation is recommended if you have no repair experience.