Model Info
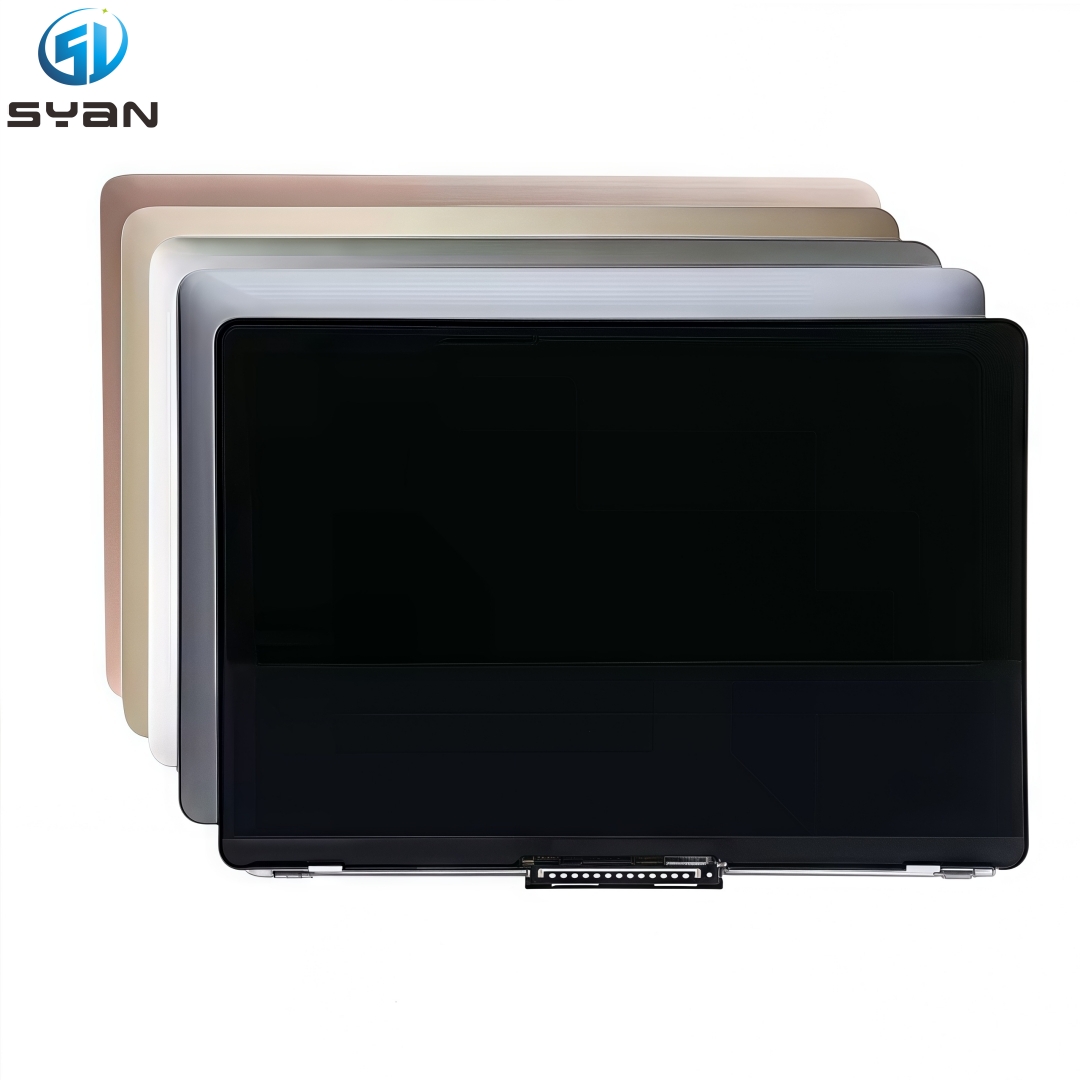
MacBook Pro 14" A2779 (M2 Pro, 2022) — full LCD display assembly replacement tutorial
Required Tools
- Pentalobe P5 screwdriver (bottom case screws)
- Torx Plus 3IP / T3 screwdriver
- Torx Plus 5IP / T5 screwdriver
- Torx Plus 8IP / T8 screwdriver
- Plastic spudger / pry tool
- Tweezers
- Anti-static wrist strap (recommended)
Pre-Warning & Safety Notes
- Power off the MacBook completely before starting.
- Disconnect the battery first to avoid short circuit & screen damage.
- All screws are different lengths; keep screws separated by positions, do not mix them.
- Do not pull flex cables violently; lift connectors gently with spudger.
- A2779 screen includes lid angle sensor, camera & backlight flex cables togetherApple Support.
Step 1: Remove Bottom Case
- Place MacBook upside down on soft mat.
- Remove 10 Pentalobe P5 screws on bottom cover.
- Pry bottom case gently with spudger and take it off.
Step 2: Disconnect Battery (Mandatory)
- Use spudger to lift and disconnect battery management flex cable connector.
- Remove pancake screw near battery connector with T5 driver to fully power off the device.
Step 3: Remove Hinge Covers & Sensor Cover
- Remove 2 T3 screws of lid angle sensor connector cover on right side, take off the coverApple Support.
- Pry up and disconnect lid angle sensor flex cable.
- Remove 4 T5 screws of left & right hinge covers, take off hinge protection plates.
Step 4: Remove Display Cable Brackets & Disconnect Flex Cables
- Remove 4 T3 screws of two display connector cowlings on logic boardApple Support.
- Take off cable brackets & cable bumpers.
- Gently lift and disconnect 3 display flex cables:
- eDP main display cable
- Backlight power cable
- FaceTime camera cableApple Support
Step 5: Remove Wi-Fi Antenna Module
- Remove T5 screws securing Wi-Fi vent & antenna bar.
- Remove 9 PL1 screws of antenna bracket.
- Disconnect Wi-Fi antenna cables, take off antenna module carefully.
Step 6: Unlock & Remove Old Display Assembly
- Open MacBook fully, place it face down with display hanging over table edgeApple Support.
- Remove 6 T8 / 8IP hinge screws (3 screws per left/right hinge)Apple Support.
- Hold display tightly, slowly separate old screen assembly from top case.
- Take out the entire broken LCD display assembly.
Step 7: Install New A2779 LCD Display Assembly
- Align new display assembly with hinges perfectly.
- Reinstall and tighten 6 hinge screws (torque: 0.7–1.15Nm)Apple Support.
- Reconnect Wi-Fi antenna cables & install antenna module back.
- Reinstall cable bumpers, brackets, then reconnect 3 display flex cables in correct orderApple Support.
- Reconnect lid angle sensor cable & install sensor cover.
- Reinstall hinge covers.
- Reconnect battery cable.
Step 8: Reassemble & Test
- Install bottom case back and tighten all P5 screws.
- Power on MacBook.
- Test display brightness, color, touch, camera, sleep/wake function.
- Run Apple Repair Assistant to complete display calibration (official requirement)Apple Support.
Key Reminders for A2779
- Original A2779 screen assembly is integrated (LCD + glass + sensor + camera flex).
- Do not separate glass from LCD panel; replace whole assembly directly.
- Must match original A2779 EMC & resolution; non-matched screen will not work.