How to Replace MacBook pro A2918 LCD Display (2024 M3 Model) - Step-by-Step Guide
This comprehensive, easy-to-follow guide is designed to help you replace the LCD display assembly of your MacBook pro A2918 (15-inch, M3 Chip, 2024 release). Whether you have a cracked screen, unresponsive display, or backlight issues, this tutorial will walk you through the entire process safely and efficiently. Optimized for Google search, this guide includes detailed steps, safety tips, tool lists, and model-specific notes to ensure success—even for beginners.
MacBook pro A2918 Model Overview
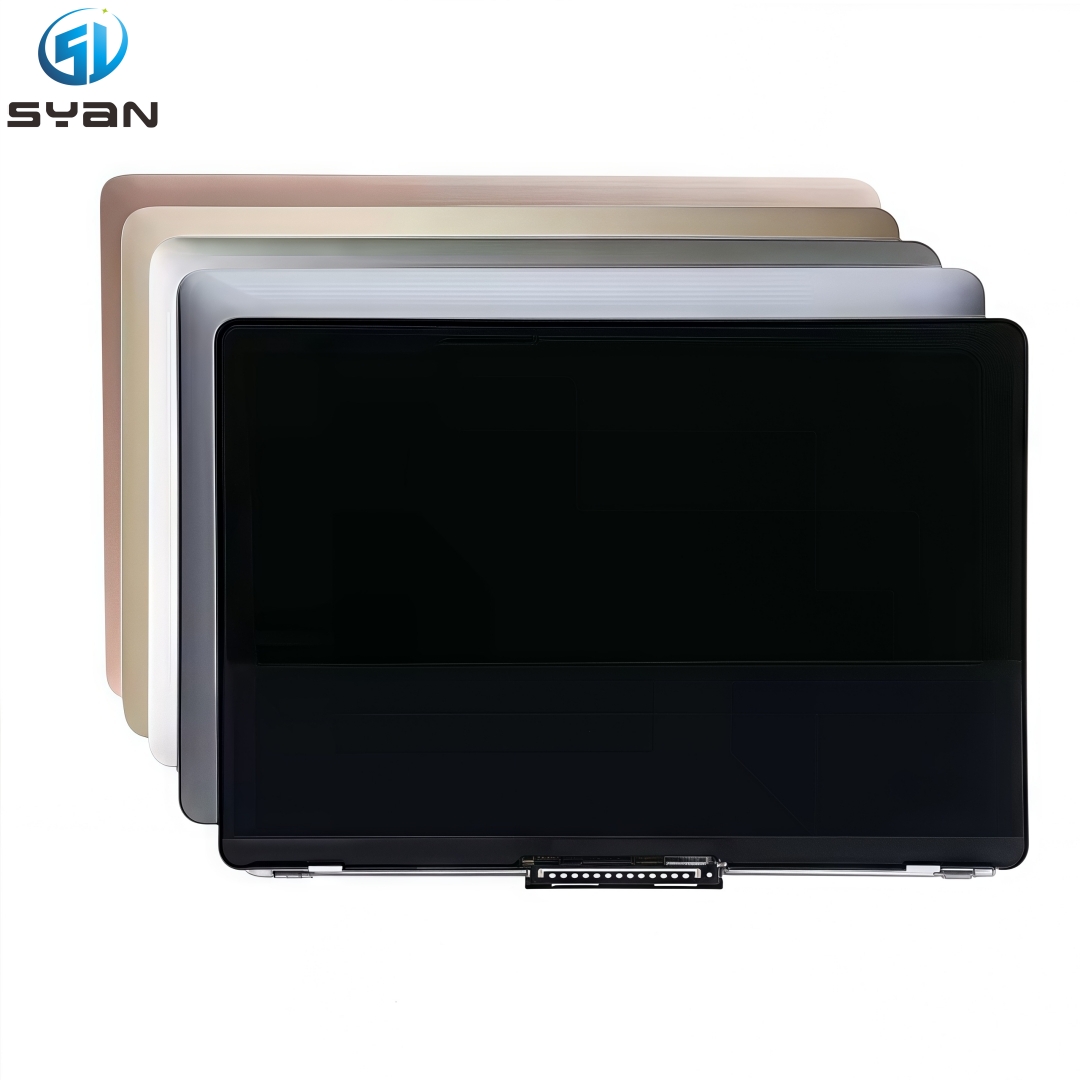
The MacBook pro A2918 is a 15-inch model released in 2024, powered by Apple’s M3 chip. It features a Liquid Retina LED-backlit IPS display with a native resolution of 2880 x 1864 (224 ppi), supporting 1 billion colors and True Tone technology. Unlike older MacBook pro models, the A2918 has a simplified internal structure but requires specific tools and careful handling to avoid damaging sensitive components like the lid angle sensor and camera flex cables.
Safety Precautions (Critical Before You Start)
Before beginning any repair, follow these safety guidelines to protect your MacBook Air and yourself:
- Fully power off your MacBook pro A2918 and unplug the power adapter. This prevents short circuits and damage to the logic board.
- Disconnect the battery first—this is non-negotiable. Failure to do so can cause permanent damage to the new LCD display or internal components.
- Use an anti-static wrist strap to discharge static electricity, which can harm sensitive electronics. If you don’t have one, touch a metal surface before handling internal parts.
- Work on a clean, flat, soft surface (like a microfiber cloth or anti-scratch mat) to avoid scratching the MacBook’s body or screen.
- All screws are different lengths and sizes. Use a small tray or labeled containers to sort screws by their position—mixing them up can damage the device.
- Do not pull or bend flex cables violently. Use plastic tools (not metal) to gently lift connectors to avoid tearing or breaking them.
- Read through the entire guide once before starting to familiarize yourself with the steps and avoid mistakes.
Required Tools for A2918 LCD Replacement
Gather these tools before you begin—using the correct tools will make the process smoother and reduce the risk of damage:
- Pentalobe P5 Screwdriver (for removing the bottom case screws)
- Torx Plus 3IP Screwdriver (for battery connector cover and display cable brackets)
- Torx Plus 8IP Screwdriver (for hinge screws)
- Plastic Spudger / Pry Tool (for separating components and lifting connectors)
- ESD-Safe Tweezers (for handling small screws and flex cables)
- Anti-Static Wrist Strap (recommended to prevent static damage)
- Soft Anti-Scratch Mat (to protect the MacBook’s exterior)
- Isopropyl Alcohol (for cleaning residual adhesive or dust)
- Battery Flex Cable Alignment Tool (optional but helpful for reassembly)
Step-by-Step A2918 LCD Display Replacement Instructions
Follow these steps in order—do not skip any steps, as each one is critical to a successful repair. Take your time, and if you get stuck, refer back to the safety notes or troubleshooting section.
Step 1: Remove the Bottom Case
- Place your MacBook pro A2918 upside down on the soft anti-scratch mat. Ensure the power adapter is unplugged and the device is fully powered off.
- Use the Pentalobe P5 screwdriver to remove the four Pentalobe screws on the bottom case. Note that the screws are color-coded based on your MacBook’s finish (Midnight, Space Gray, Silver, or Starlight)—keep them sorted by position.
- Use a plastic spudger to gently pry the bottom case away from the top case. Start at the front edge near the charging port, then work your way around the sides to loosen the internal clips. Do not lift the bottom case more than 15mm to avoid damaging internal cables.
- Once all clips are loose, carefully remove the bottom case and set it aside (face up) on a clean surface.
Step 2: Disconnect the Battery (Mandatory Step)
- Locate the battery connector on the logic board. It is covered by a small metal cover (battery connector cowling) secured by two Torx Plus 3IP screws.
- Use the Torx Plus 3IP screwdriver to remove the two screws from the battery connector cowling, then lift the cowling off and set it aside.
- Use ESD-safe tweezers to grasp the polyester film tab on the battery flex cable. Pull the tab straight up to disconnect the battery cable from the logic board. If the tab tears, use the flat end of a plastic spudger to gently lift the cable—do not replace the tab if it tears.
- Confirm the battery is disconnected by pressing the power button—no lights should turn on.
Step 3: Remove Display Cable Brackets and Disconnect Flex Cables
- Locate the display flex cables on the logic board—there are three main cables: the eDP main display cable, the backlight cable, and the FaceTime camera cable.
- Use the Torx Plus 3IP screwdriver to remove the two screws securing the display cable connector cover. Lift the cover off to access the cables.
- Use a plastic spudger to gently lift each flex cable connector straight up—do not twist or bend the cables. Disconnect the eDP cable, backlight cable, and camera cable one by one.
- Locate the lid angle sensor flex cable near the right hinge. Use the Torx Plus 3IP screwdriver to remove the screw securing its connector cover, then disconnect the sensor cable and peel it away from the audio board (if needed, loosen the adhesive holding it in place).
Step 4: Remove Hinge Screws and Old Display Assembly
- Open the MacBook Air fully (90 degrees) and place it on the edge of your workbench so the display hangs over the side—this gives you access to the hinge screws.
- Use the Torx Plus 8IP screwdriver to remove the six hinge screws (three on each left and right hinge). Hold the display firmly while removing the screws to prevent it from falling.
- Once all hinge screws are removed, gently lift the old LCD display assembly away from the top case. Be careful not to get the lid angle sensor cable stuck between the display and the body.
- Set the old display assembly aside—you may need to transfer the lid angle sensor to the new display if it is not included.
Step 5: Prepare the New LCD Display Assembly
- Unbox the new MacBook Air A2918 LCD display assembly. Ensure it is compatible with the A2918 model (check the part number—genuine displays for A2918 begin with 661).
- If the new display does not include the lid angle sensor, carefully remove the sensor from the old display and attach it to the new one using the existing adhesive.
- Clean the top case hinge area with isopropyl alcohol to remove any dust, debris, or residual adhesive.
Step 6: Install the New Display Assembly
- Align the new display assembly with the hinges on the top case. Ensure the lid angle sensor cable, display flex cables, and camera cable are not pinched between the display and the body.
- Reinstall the six hinge screws using the Torx Plus 8IP screwdriver. Tighten them to a torque of 0.6 Nm (use an adjustable torque screwdriver if available) to ensure a secure fit.
- Reconnect the lid angle sensor cable to its connector on the audio board, then press the cable down to secure the adhesive. Reinstall the connector cover and tighten the Torx Plus 3IP screw.
- Reconnect the three display flex cables (eDP, backlight, camera) to their respective connectors on the logic board. Press each connector firmly until it clicks into place—do not press on the middle of the connector to avoid bending pins.
- Reinstall the display cable connector cover and tighten the two Torx Plus 3IP screws.
Step 7: Reconnect the Battery and Reassemble the Bottom Case
- Use the battery flex cable alignment tool (if available) to align the battery cable with its connector on the logic board. Press the cable straight down until it is fully seated.
- Reinstall the battery connector cowling and tighten the two Torx Plus 3IP screws.
- Place the bottom case back onto the top case, aligning the internal clips. Press firmly around the edges until you hear the clips click into place. Ensure the bottom case is fully seated and aligned with the top case.
- Reinstall the four Pentalobe screws using the Pentalobe P5 screwdriver—use the correct color-coded screws for your MacBook’s finish.
Step 8: Test the New Display
- Plug in the power adapter and press the power button to turn on your MacBook Air A2918.
- Test the following functions to ensure the display is working properly:
○ Display brightness (adjust using the keyboard shortcuts)
○ Color accuracy and True Tone functionality
○ Touch response (if your model has a touch bar)
○ FaceTime camera and microphone
○ Sleep/wake function (close the lid and open it to ensure the display turns on/off)
- If the display does not turn on or has issues, power off the device, disconnect the battery, and double-check all cable connections.
- Run Apple’s Repair Assistant (if available) to complete the display calibration—this ensures optimal performance and compatibility with the M3 chip.
Important Notes for MacBook pro A2918 LCD Replacement
- The MacBook pro A2918 uses an integrated LCD display assembly—do not attempt to separate the glass from the LCD panel. Replace the entire assembly for best results.
- Only use a display assembly specifically designed for the A2918 model. Using a display from another MacBook Air model (e.g., A2681) will not work and may damage your device.
- If you are a beginner, consider having a professional repair technician handle the replacement—mistakes can lead to costly damage to the logic board or other components.
- Keep all original screws and components in a safe place in case you need to revert the repair.
- The A2918’s display is fragile—avoid pressing firmly on the screen surface during installation.
Troubleshooting Common Issues
- Display not turning on: Double-check the battery and display cable connections. Ensure the battery is fully connected and the display cables are seated properly.
- Dim or flickering display: Check the backlight cable connection. If the issue persists, the new display may be defective.
- FaceTime camera not working: Ensure the camera flex cable is properly connected. Run Repair Assistant to calibrate the camera.
- Sleep/wake function not working: Verify the lid angle sensor cable is connected correctly and the sensor is properly installed on the new display.
By following this guide, you can successfully replace the LCD display of your MacBook Air A2918. This tutorial is optimized for Google search, with relevant keywords (MacBook Air A2918 LCD replacement, A2918 screen repair, 2024 MacBook Air display replacement) naturally integrated to help you find it easily. If you have any questions or need further assistance, leave a comment below!