This tutorial is suitable for most iPad models (including iPad, iPad Air, iPad Pro, and iPad mini). The overall operation process is similar, with only slight differences in screw sizes and cable positions. Follow the steps carefully, pay attention to ESD protection, and avoid secondary damage to the device.
Backup Data: Use iCloud, iTunes, or an external storage device to back up all important data to prevent data loss during the replacement process.
Power Off Completely: Turn off your iPad and disconnect all charging cables and peripherals. Ensure the device is not in sleep mode.
Discharge Battery: It is recommended to discharge the battery to below 25% to reduce the risk of short circuits and fire during operation.
ESD Protection: Wear an anti-static wristband and work on an anti-static mat. Avoid touching the internal components with bare hands to prevent electrostatic damage to the logic board.
1.2 Tools Required
Pentalobe screwdriver (P2, for bottom case screws of most iPad models)
Phillips screwdriver (PH00, for internal component screws)
Suction cup (large size, to lift the screen)
Plastic spudgers/opening picks (anti-static, to separate the screen from the frame and disconnect cables)
Anti-static tweezers (to handle small screws and cables)
iOpener or heat gun/hair dryer (to soften the adhesive around the screen; iOpener is safer and avoids damaging components compared to a heat gun).
Magnetic screw mat (to organize screws by size and position, preventing loss or confusion)
Microfiber cloth (to clean the screen and internal components)
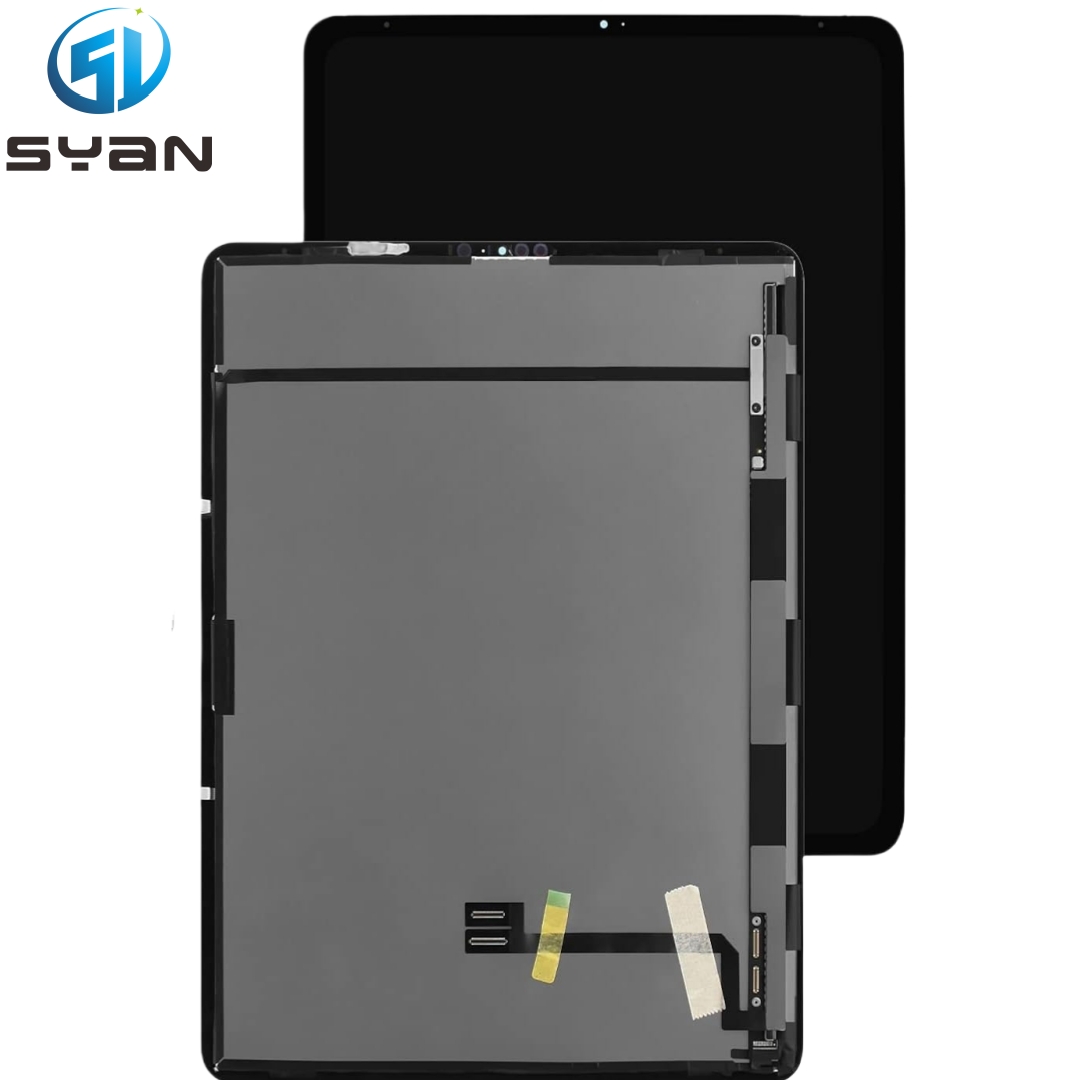
New screen assembly (ensure it matches your iPad model; choose OEM, high-quality aftermarket, or tested used screens as needed)
Aftermarket Screen: Cost-effective, but may disable True Tone (for iPad models with this feature) and have slight differences in color accuracy.
Used OEM Screen: Lower price, need to ensure it is tested and free of damage (no liquid leakage, no dead pixels).
Note: Most iPads use an integrated screen assembly (glass + LCD + backlight), so you cannot replace only the glass or LCD separately; the entire assembly must be replaced.
2. Step-by-Step Replacement Process
Step 1: Remove the Bottom Case Screws
Place the iPad face-down on a soft microfiber cloth to avoid scratching the back cover.
Use a P2 pentalobe screwdriver to remove the 2–4 screws on the bottom edge of the iPad (the number and length of screws vary by model; remember their positions with the magnetic mat).
Do not over-tighten or strip the screws during removal; turn them gently until they are fully loosened.
Step 2: Separate the Screen from the Frame
Heat the edges of the screen with an iOpener (heated in the microwave) or a hair dryer (set to low heat) for 2–3 minutes to soften the adhesive between the screen and the frame. Do not overheat to avoid damaging the internal components or melting the screen.
Attach the suction cup to the center of the screen (avoid cracked areas if the screen is broken) and pull gently upward to create a small gap between the screen and the frame.
Insert a plastic spudger into the gap and slide it along the edges to cut the adhesive. Move slowly and gently to avoid damaging the screen cables on the top side.
Once the adhesive around the screen is fully cut, lift the screen gently (do not fully remove it yet, as there are cables connecting it to the logic board).
Step 3: Disconnect the Screen Cables
Open the screen at a 45-degree angle (use a prop to support it if needed) to avoid pulling the cables.
Locate the screen cable connector on the logic board (usually covered by a metal shield).
Use a plastic spudger to gently pry up the metal shield (if any) and set it aside with the corresponding screws.
There are usually 2–3 cables (touch cable, display cable, backlight cable) connecting the screen to the logic board. Use the spudger to gently pry up the connectors (do not pull the cables directly) to disconnect them from the logic board.
Once all cables are disconnected, you can fully remove the old screen assembly.
Step 4: Clean the Frame and Prepare the New Screen
Use a microfiber cloth to wipe the frame of the iPad, removing any residual adhesive, dust, or glass shards (if the old screen was cracked). Be careful not to scratch the frame or internal components.
If the new screen does not come with pre-applied adhesive, apply a new strip of adhesive around the frame (align with the original adhesive position) to ensure the new screen fits tightly.
Remove the protective film from the new screen (both front and back) to avoid affecting the display effect.
Step 5: Install the New Screen
Align the new screen with the iPad frame and place it gently (ensure the cables are facing the logic board).
Connect the screen cables to the corresponding connectors on the logic board. Press firmly until you hear a "click" to ensure a secure connection (do not bend or damage the cables).
Reinstall the metal shield (if any) and tighten the screws to fix it in place.
Carefully press the screen along the edges to bond it with the adhesive. Ensure there are no gaps between the screen and the frame.
Step 6: Reassemble the Bottom Case and Test
Reinstall the bottom case screws and tighten them evenly (do not over-tighten to avoid damaging the threads).
Connect the charging cable to the iPad and power it on to test the new screen.
Check the following functions: display clarity, touch sensitivity, backlight brightness, True Tone (if applicable), and camera (for iPad models with front camera integrated in the screen).
If the screen works normally, use a microfiber cloth to clean the screen surface and remove any fingerprints.
3. Post-Replacement Notes
Adhesive Drying: After installation, avoid pressing the screen hard for 1–2 hours to allow the adhesive to dry completely.
True Tone Function: If you use a non-OEM screen, the True Tone function may be disabled (this is normal and cannot be restored).
System Prompt: Some iPads may display a "Unable to verify this iPad has a genuine Apple display" message, which does not affect normal use.
Screen Protection: It is recommended to install a tempered glass screen protector to prevent the new screen from being scratched or broken again.
4. Common Mistakes to Avoid
Forgetting to Disconnect the Battery: This may cause short circuits and damage the logic board. Always ensure the battery is disconnected (for models with accessible battery connectors) or discharged to a low level.
Using Brute Force: Forcing the screen to separate or pulling cables directly may tear the cables or damage the connectors.
Mixing Up Screws: Using the wrong size or length of screws may damage the logic board or screen.
Overheating the Screen: Excessive heat may melt the screen or internal components; use low heat and avoid prolonged heating.
Ignoring ESD Protection: Static electricity can damage the logic board and other sensitive components; always wear an anti-static wristband.
5. Troubleshooting After Replacement
Screen Not Turning On: Check if the screen cables are fully connected; re-disconnect and reconnect them if necessary. Also, check if the battery is charged.
Touch Not Working: Ensure the touch cable is connected properly; check for damage to the touch cable or connector.
Screen Flickering/Color Distortion: Check if the display cable is loose or damaged; replace the screen assembly if the problem persists.
Backlight Not Working: Check the backlight cable connection; if the cable is intact, the new screen may be defective.
By following this guide, you can successfully replace your iPad screen. If you are not confident in your operation, it is recommended to seek professional repair services to avoid secondary damage. Take your time, follow each step carefully, and you will complete the replacement smoothly.