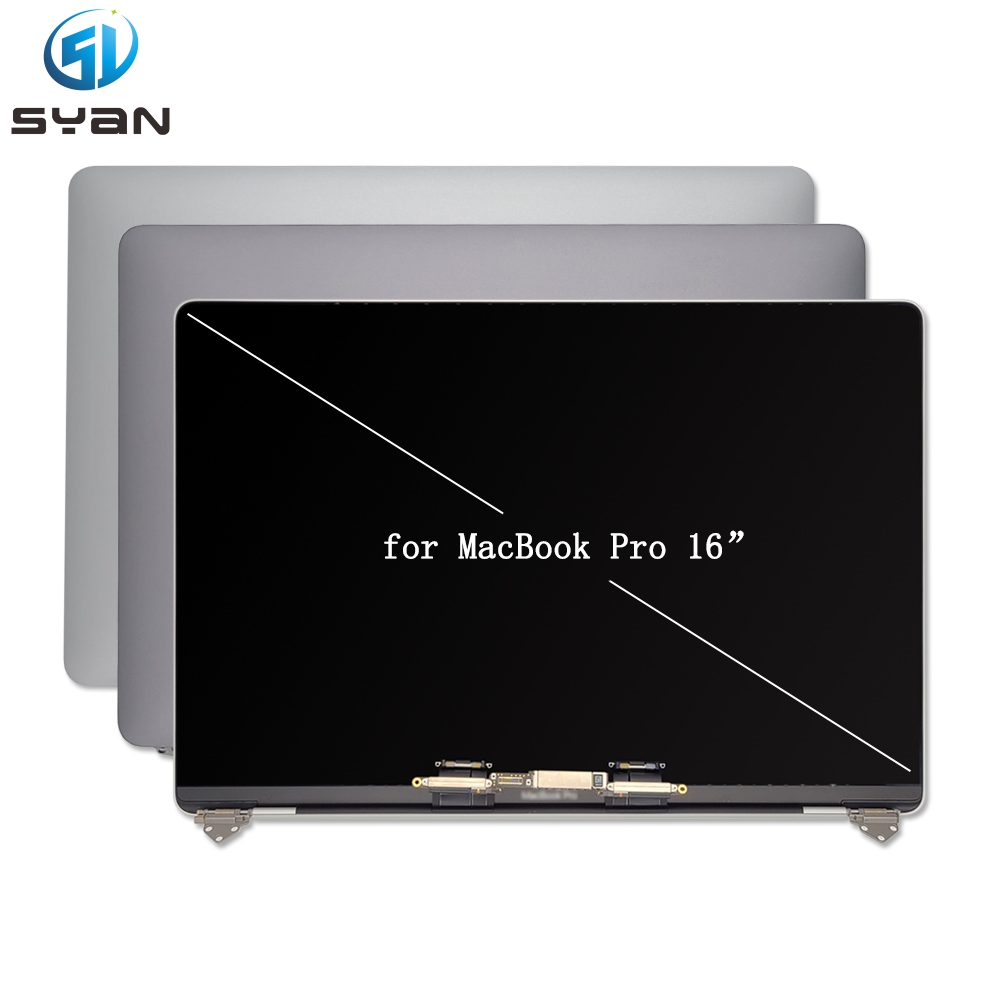
Complete Guide: LCD Screen Replacement for MacBook Pro 14-inch M1 (Model A2442)
Applicable Models: MacBook Pro 14-inch (2021), A2442, M1 Pro / M1 Max
Difficulty Level: Advanced (90–120 minutes)
Skill Requirements: Precision repair, ESD safety, cable handling
1. When to Replace the Screen
You need a full LCD assembly replacement if you experience:
- Physical damage: Cracked glass, LCD leakage, deep scratches, dented lid causing display distortion
- Display failure: Vertical/horizontal lines, flickering, black spots, no backlight, distorted colors
- Internal failure: Unresponsive touch (if applicable), persistent screen artifacts after macOS updates
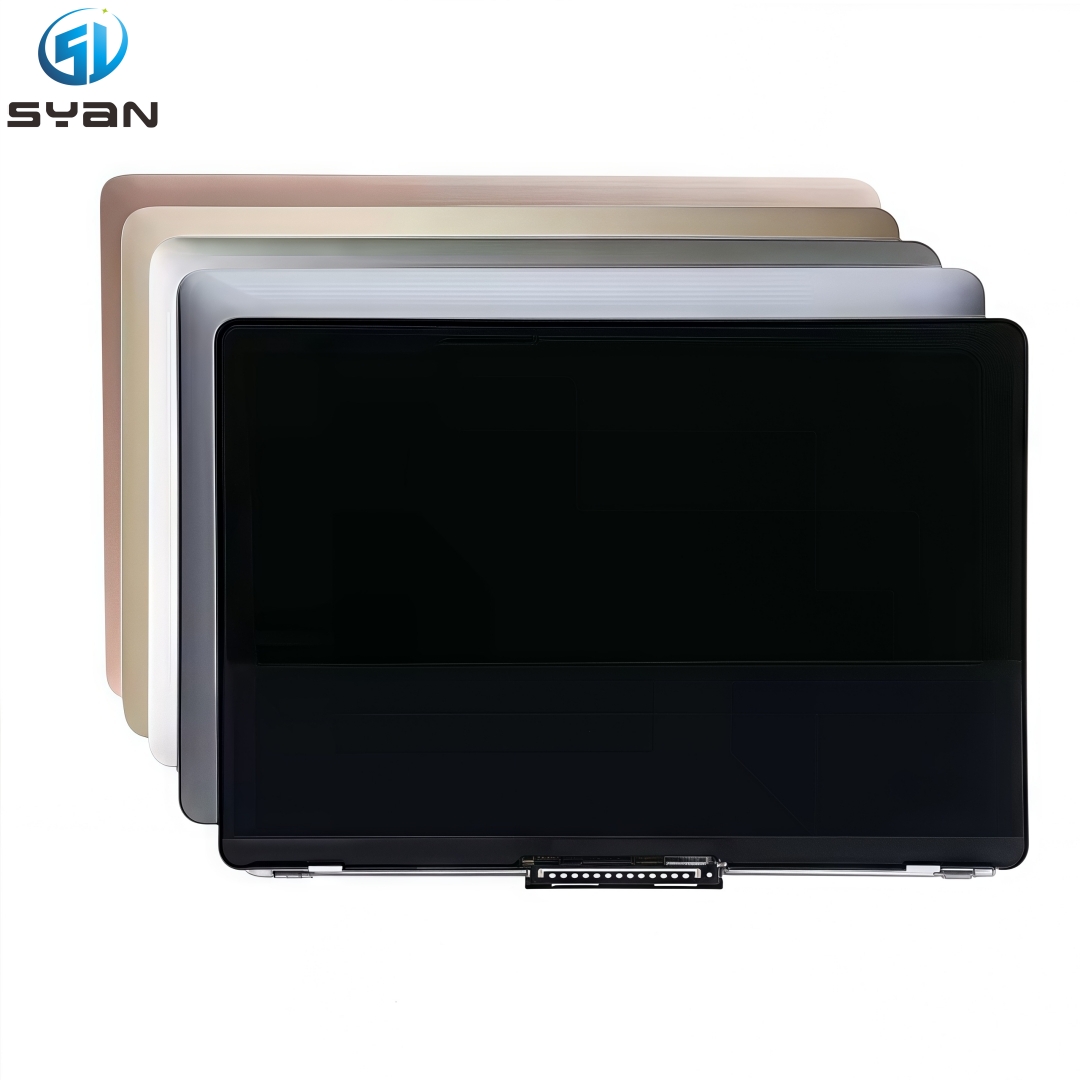
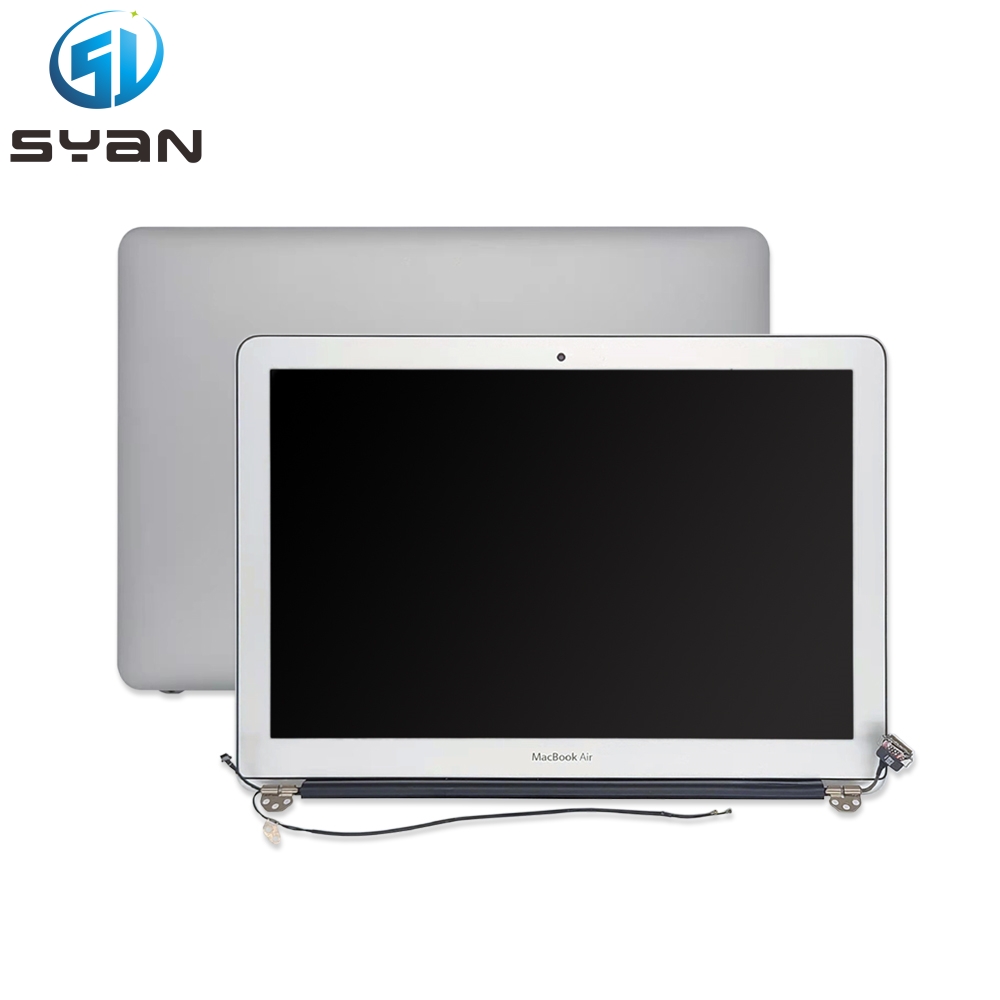
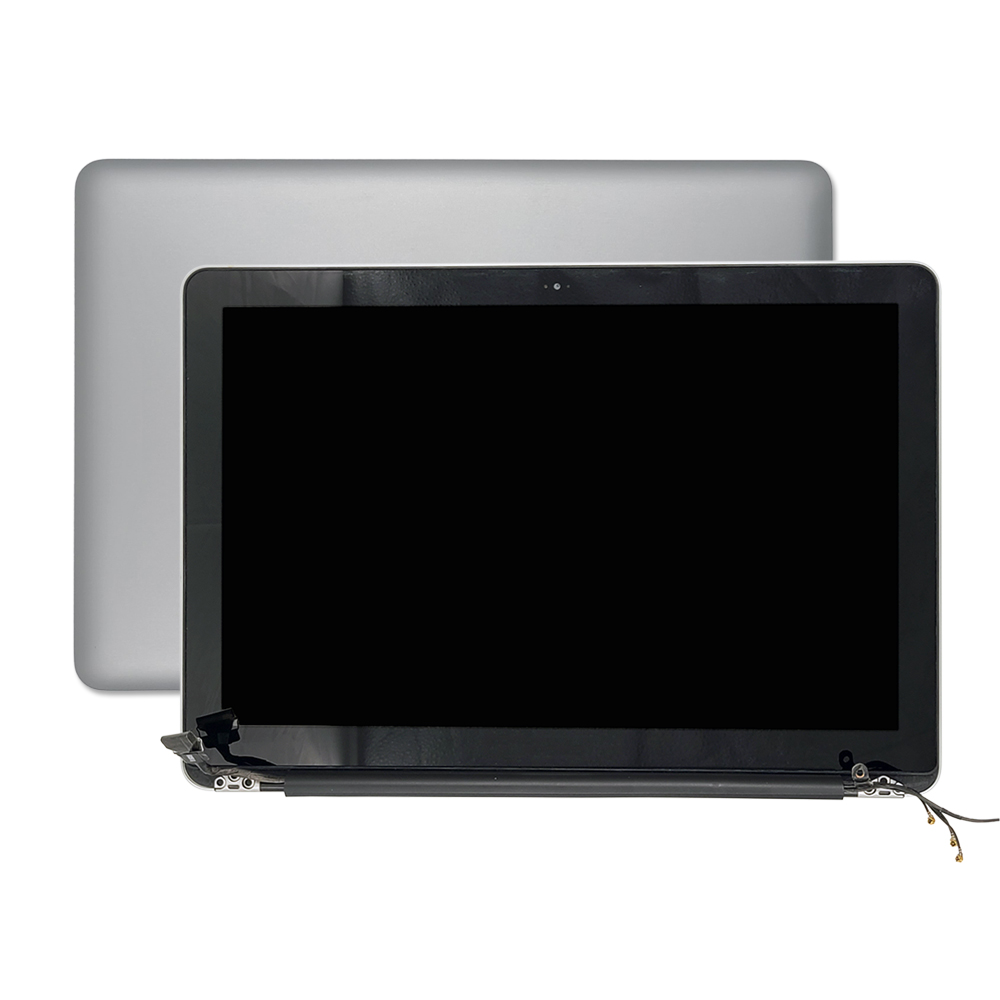
Important Note: The A2442 uses a fully integrated LCD assembly (glass + LCD + backlight + webcam + antennas). You cannot replace only the glass or LCD panel separately.
2. Pre-Replacement Preparation
2.1 Safety First
- Backup Data: Use Time Machine or external drive to back up all files
- Battery Drain: Discharge battery below 25% to reduce fire/short-circuit risk
- Power Off: Fully shut down, unplug MagSafe and all peripherals
- ESD Protection: Wear anti-static wristband; work on static-free surface
2.2 Tools Required
- P5 Pentalobe screwdriver (bottom case)
- T3 Torx screwdriver (internal connectors)
- Suction cup (handle)
- Plastic spudgers / opening picks (anti-static)
- ESD-safe tweezers
- Torque driver (recommended, 0.3–1.2 Nm)Apple Support
- Nylon probe (black stick)Apple Support
- Magnetic screw mat (organize screws by size/location)
2.3 Replacement Part
- OEM Apple Display Assembly (A2442, Silver/Space Gray): $550–$699
- Quality Aftermarket: $350–$499 (may disable True Tone)
- Pulled OEM (used): $300–$450 (tested, 3–6 month warranty)
Critical: Third-party screens will disable True Tone and may show "non-genuine part" in System Report.
3. Step-by-Step Replacement Process
Step 1: Remove Bottom Case
- Place MacBook face-down on soft cloth
- Remove 6 P5 Pentalobe screws (4 long, 2 short)
- Attach suction cup near edge; lift slightly to create gap
- Insert spudger to release clips; fully remove bottom case
Step 2: Disconnect Battery (CRITICAL!)
- Locate battery connector (near logic board)
- Use spudger to gently pry up connector lock
- Pull cable straight out; do not bend
- Insulate connector with tape to prevent accidental contact
Step 3: Disconnect Display & Antenna Cables
- Remove 2 T3 Torx screws securing display cable cover
- Lift cover; disconnect display data cable (pull tab)
- Disconnect backlight power cable
- Disconnect 3–4 antenna cables (labeled: Main, Aux, etc.)
- Remove 2 T3 screws holding hinge coversApple Support
Step 4: Remove Hinge & Display Assembly
- Open screen slightly; support lid to avoid stress
- Remove 4 T3 Torx screws (2 per hinge)
- Carefully lift entire display assembly upward and away
- Set old screen aside; keep all small parts (screws, covers)
Step 5: Transfer Small Parts (If Needed)
- Move camera module, lid angle sensor, antenna brackets from old to new assembly
- Must replace lid angle sensor with new screen (Apple requirement)Apple Support
Step 6: Install New Display Assembly
- Align new screen hinges with MacBook chassis
- Hand-start 4 hinge screws; tighten evenly (0.6 Nm torque)Apple Support
- Reconnect antenna cables (match labels)
- Reconnect backlight & display data cables
- Replace cable cover & screws
Step 7: Reconnect Battery & Test
- Reconnect battery connector (press firmly until click)
- Replace bottom case; tighten screws (snug, not over-tight)
- Power on MacBook; test:
- Display image, brightness, touch (if applicable)
- Camera, microphone, ambient light sensor
- Wi-Fi/Bluetooth (antennas)
Step 8: Final Reassembly
- Power off; fully secure bottom case screws
- Clean screen with microfiber cloth
- Run Apple Diagnostics (hold D at boot) to verifyApple Support
4. Post-Replacement Notes & Limitations
- True Tone: Disabled permanently with third-party screens
- System Message: "Unable to verify this Mac has a genuine Apple display" (normal)
- macOS Update: Update to Sequoia 15.1+ to fix display artifacts
- Warranty: DIY repair voids Apple warranty; third-party parts typically 3–12 month warranty
5. Cost Comparison (2026)
- Apple Official Service: $699–$899 (OEM, 90-day warranty, True Tone preserved)
- Authorized Provider: $599–$749
- Third-Party Repair Shop: $350–$550 (aftermarket/OEM pull)
- DIY (Yourself): $300–$600 (parts only)
6. Risks & Warnings
- Battery Damage: Puncturing/swelling causes fire hazard; stop if swollen
- Cable Tearing: Display/antenna cables are fragile; use gentle force
- Screw Mix-Up: Wrong screws damage threads/logic board
- Water Damage: Ensure no moisture in workspace
- Advanced Repair: If uncomfortable, seek professional service
7. Final Tips
- Organize all screws in magnetic mat by location
- Watch video guides (iFixit/YouTube) before starting
- Test all functions before full reassembly
- Keep old screen for parts/camera/sensor reuse
This guide covers full LCD assembly replacement for MacBook Pro 14-inch A2442 (M1 Pro/Max). Take your time, follow ESD protocols, and double-check every connection.