SEO Keywords: MacBook Pro 14 M2 A2992 screen replacement, A2992 LCD display repair, how to replace MacBook Pro 14 inch screen, fix cracked A2992 display, MacBook Pro A2992 screen installation guide
1. Product Introduction
This guide provides professional step-by-step instructions for replacing the LCD screen on the 14-inch MacBook Pro M2 with model number A2992. The A2992 MacBook Pro features a Liquid Retina XDR display with mini-LED backlight, ProMotion 120Hz refresh rate, high dynamic range, and P3 wide color gamut. Common screen failures include cracked glass, display flickering, vertical and horizontal lines, black screen, no backlight, dead pixels, and screen water damage. This tutorial covers full disassembly, old screen removal, new LCD installation, reassembly, and complete post-installation testing for the A2992 model.
2. Pre-Repair Safety Precautions
To avoid static damage, burned logic boards, torn flex cables, and secondary damage during repair, please follow all safety rules before disassembly:
-
Fully shut down the MacBook Pro A2992 and disconnect all power adapters and external devices.
-
Perform all repair work on an anti-static mat and wear an anti-static wrist strap. Static electricity can permanently damage the logic board, display connector, and sensitive flex cables.
-
Do not start disassembly if the battery is swollen or deformed to avoid safety risks.
-
Never touch the gold-plated contacts of display flex cables with bare hands. Finger grease causes poor contact, screen flickering, no image, or intermittent display failure.
-
All display cables, camera flex cables, and ambient light sensor cables are extremely fragile. Do not pull, twist, or bend at sharp angles.
-
Official Apple warranty will be voided after manual disassembly. Repair-induced damage is not covered by the original manufacturer warranty.
3. Required Tools and Replacement Parts
3.1 Tools
-
Precision Pentalobe screwdriver
-
Torx T3, T5, and T8 screwdriver bits
-
Nylon spudger and plastic pry tools
-
Anti-static tweezers
-
Lint-free cleaning cloth
-
Screw storage tray for position classification
3.2 Replacement Part
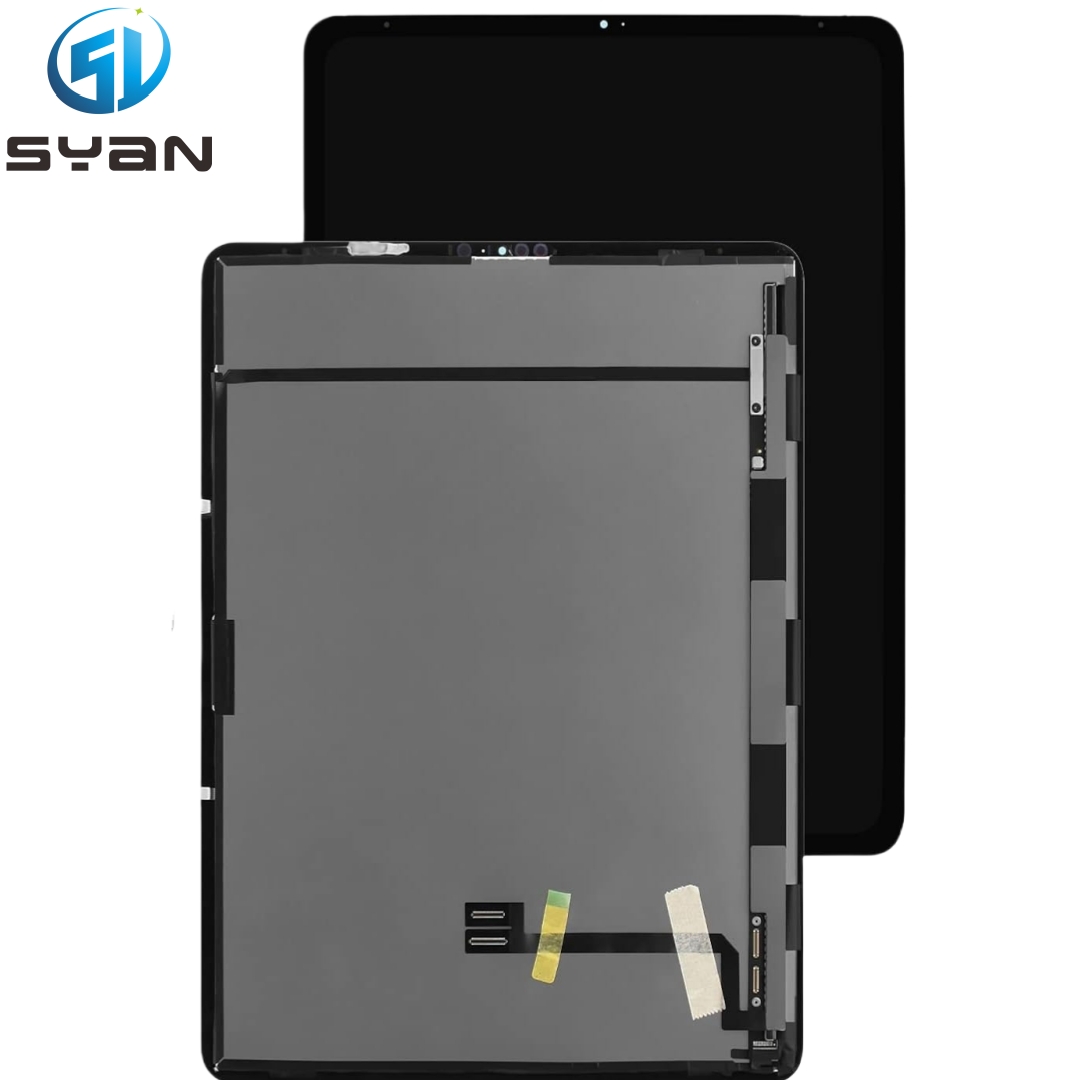
Brand new full LCD screen assembly compatible with MacBook Pro 14-inch M2 A2992 (mini-LED XDR display compatible).
4. Step-by-Step Old Screen Removal
Step 1: Power off the device completely, place the MacBook Pro A2992 upside down on an anti-static mat, and remove all bottom case Pentalobe screws. Keep all screws sorted by length and position to avoid installation errors.
Step 2: Use a nylon spudger to gently pry open and remove the bottom cover. After opening the chassis, locate the battery connector protection plate.
Step 3: Remove the battery cover screws, disconnect the battery flex cable with a plastic spudger, and wait 60 seconds to release residual power from the motherboard to prevent short circuits.
Step 4: Remove the antenna and speaker modules that block the display cable area to expose the display flex connector, camera flex cable, and ambient light sensor connector.
Step 5: Lift the locking bracket of the main display flex cable, gently pull out the display cable, then disconnect the camera and ALS sensor cables one by one.
Step 6: Open the MacBook screen to 90 degrees, loosen the four hinge fixing screws, and slowly lift the entire screen assembly away from the lower body. Be careful not to pinch or tear any internal cables during separation.
Step 7: Place the removed screen assembly on a soft flat surface, remove the fixed metal brackets, and separate the damaged old LCD panel from the top lid frame. Transfer intact camera, microphone, and sensor components to prepare for new screen installation.
5. New A2992 LCD Screen Installation Steps
Step 1: Unpack the new A2992 LCD screen assembly. Only hold the frame edge, do not squeeze or press the screen surface to avoid new panel damage.
Step 2: Align the new LCD panel with the top lid frame, reinstall the metal fixing brackets, and fix all screw positions stably.
Step 3: Re-route the camera flex cable, ambient light sensor cable, and antenna cables according to the original factory routing. Ensure all cables are flat and not twisted, squeezed, or folded.
Step 4: Align the entire screen assembly with the body hinge position, restore the display cable, camera cable, and sensor cable to the motherboard connectors, and lock all connector latches firmly in place.
Step 5: Reinstall the hinge screws with even force. Do not over-tighten to prevent screen cracking or frame deformation.
6. Device Reassembly Process
Step 1: Reinstall the speaker modules and antenna components to their original positions.
Step 2: Reconnect the battery flex cable and reinstall the battery protection cover and fixing screws.
Step 3: Align and buckle the bottom case, install all bottom screws in the original positions, and ensure no screws are left loose or misplaced.
7. Post-Installation Full Function Testing
After completing the screen replacement, perform comprehensive functional testing to confirm repair quality:
-
Power on the MacBook Pro normally and check the boot screen display.
-
Verify uniform brightness, no flickering, no horizontal/vertical lines, no dead pixels, and no color difference.
-
Test mini-LED backlight performance, XDR contrast, and ProMotion 120Hz refresh rate response.
-
Check camera, microphone, ambient light sensor, and automatic brightness adjustment function.
-
Test lid sleep and wake-up function to ensure normal hinge induction.
-
Run Apple Diagnostics to confirm no display hardware errors.
8. Common Problems and Troubleshooting
-
Black screen after replacement: The display flex cable is loose or not fully inserted. Reopen the case and reseat the main display connector.
-
Screen flickering or striped display: Dirty connector contacts or slightly damaged flex cable. Clean the gold contacts and reinsert the cable.
-
Backlight on but no image: Cable latch not locked completely or incompatible screen model. Confirm A2992 screen compatibility and lock all connectors.
-
Camera or sensor not working: Camera/ALS flex cable poor contact. Reinstall the sensor cable correctly.
-
Loose or stiff screen hinge: Uneven screw tightness. Readjust hinge screw torque for balance.
9. Maintenance and Warranty Statement
This A2992 screen replacement tutorial is for professional technicians and DIY repair use. Damage caused by incorrect installation, including cracked screens, broken cables, and motherboard damage, is not covered by the supplier’s product warranty. Please recycle damaged old screens according to local electronic waste regulations. Retain defective screens if required for RMA return processing.
Final Note: Proper installation and cable arrangement can perfectly restore the original display effect of the MacBook Pro 14-inch M2 A2992, including XDR mini-LED performance, True Tone, and ProMotion high refresh rate functions.