SEO‑Optimized Repair Tutorial For DIY Technicians, Laptop Repair Shops and Hardware Sellers
Article Keywords
MacBook Air A3449 screen replacement, 13.6‑inch M5 LCD install guide, A3449 display assembly repair, fix cracked MacBook Air M5 screen, Liquid Retina panel installation tutorial
1. Product Overview
The A3449 is the latest‑generation 13.6‑inch MacBook Air powered by the Apple M5 system‑on‑chip. Its built‑in Liquid Retina IPS LCD delivers a native 2560 × 1664 resolution, 500‑nits maximum brightness, P3 wide‑gamut colour support and True‑Tone automatic screen brightness adjustment
Apple.
Common screen faults include cracked glass, vertical display lines, black blank screen, flickering backlight, dead pixels and water‑damaged panels. This walk‑through covers full‑assembly LCD removal, new screen fitting, cable routing, reassembly and post‑repair hardware testing.
2. Pre‑Repair Safety Rules
Follow these mandatory precautions before beginning disassembly to prevent static shock, burnt‑out logic boards and torn ribbon cables:
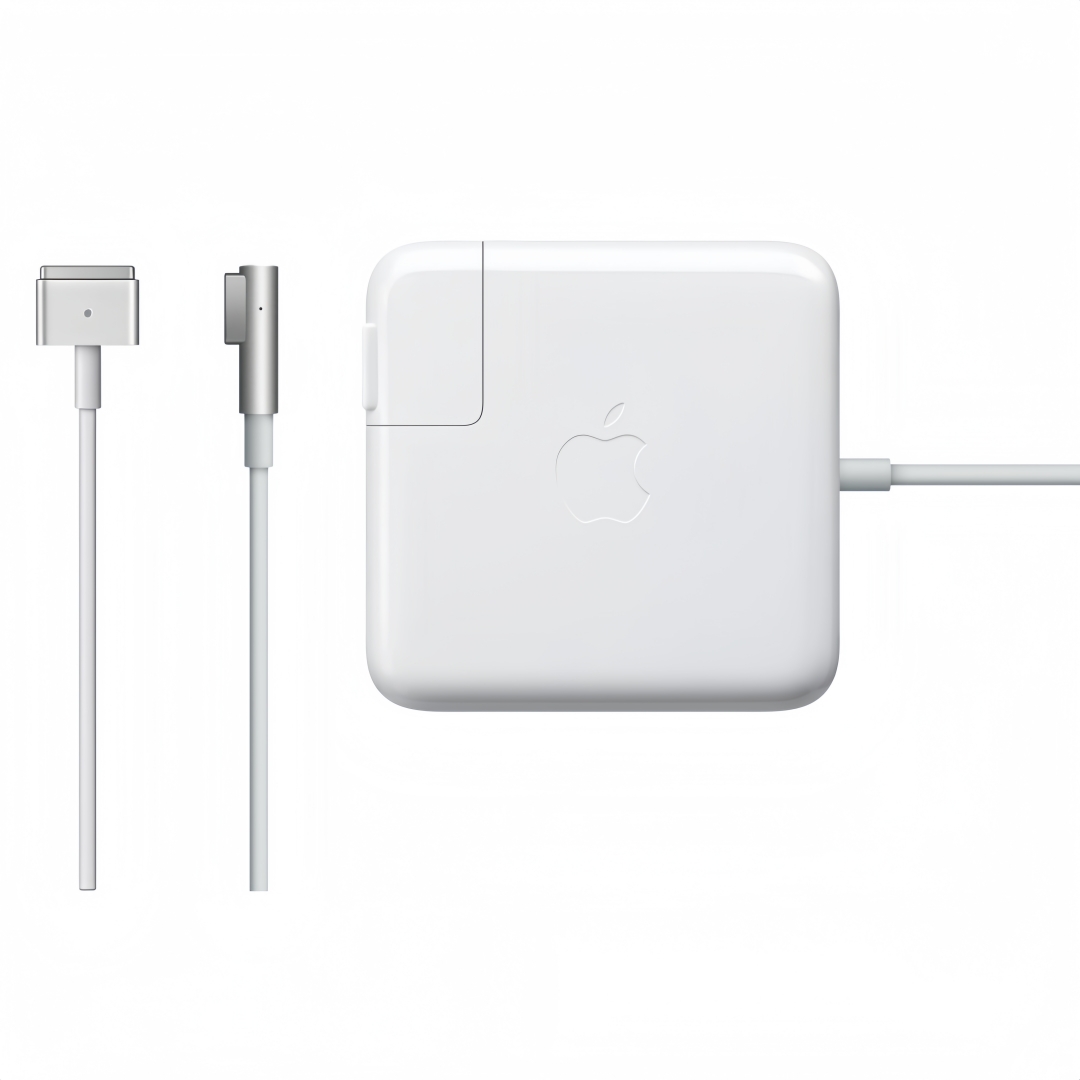
- Fully power‑off your MacBook Air A3449, unplug the MagSafe‑3 charging cable and detach every external peripheral.
- Work on an anti‑static work mat and fasten an anti‑static wrist‑strap to your wrist. Static discharge can permanently ruin the mainboard, camera flex cable and display contacts.
- Confirm the remaining battery charge sits under 25 % to lower short‑circuit hazards.
- Never touch the gold‑plated metal contacts of flat ribbon cables with bare fingertips. Skin grease triggers screen glitches, no‑backlight failure and intermittent signal loss.
- All display, ambient‑light‑sensor and webcam flex wires are fragile; avoid sharp‑angle bending, hard pulling or pinching.
- Official Apple factory warranty will expire once you disassemble the laptop chassis. Any self‑inflicted hardware damage is excluded from manufacturer warranty coverage.
- Stop the repair process straight away if you detect a bulging, swollen built‑in battery.
3. Required Repair Tools & Compatible Replacement Parts
Hand Tools
- Adjustable torque screwdriver (0.3–1.2 Nm torque range)
- Torx Plus 1IP, 3IP and 8IP screwdriver bits
- Nylon plastic spudger and insulated anti‑static tweezers
- Lint‑free microfiber cleaning cloth
- Kapton high‑temperature insulating tape
- Screw storage tray (for sorting fastener lengths and installation positions)
Replacement Component
- Brand‑new complete LCD screen assembly, strictly compatible for MacBook Air 13.6‑inch M5 A3449
Note: The webcam, ambient‑light sensor and antenna wires are pre‑routed inside the top‑lid housing. Transfer these small‑size modules carefully from your broken‑down old screen frame onto your new‑installed LCD panel.
4. Step‑by‑Step Old LCD‑Assembly Removal
- Place the powered‑off A3449 upside‑down on your anti‑static workspace. Undo every bottom‑case Pentalobe screw and store fasteners separately by length. Pry loose and lift away the lower chassis shell with your nylon spudger.
- Locate the battery‑flex cable metal shield. Unscrew its mounting screws, pry the battery ribbon connector loose from the motherboard using your nylon probe tool. Wait 60 seconds to drain leftover residual power inside the main circuit board.
- Detach the left‑hand and right‑hand speaker‑antenna modules, then remove the display hinge protective cover.
- Open your MacBook lid to a 90‑degree angle. Let the whole screen assembly hang off the edge of your repair bench for convenient hinge‑screw access.
- Take off the two Torx‑Plus 3IP screws holding down the display‑cable metal retainer. Lift the locking latch of the main display ribbon cable, then slide the flat cable gently free from the motherboard socket.
- Unlock and unplug the combined ambient‑light‑sensor plus webcam flex cable. Guide the thin wire out from its foam‑fixed routing groove.
- Use an 8IP torque screwdriver to undo four hinge fixing screws. Lift the complete top‑lid screen assembly away from the lower‑body chassis.
- Rest the removed lid assembly on a soft anti‑static surface. Detach metal mounting brackets, separate the cracked original LCD panel, and relocate camera, microphone and antenna hardware components.
5. New A3449 LCD Panel Installation Workflow
- Unpack the brand‑new compatible Liquid Retina screen. Only grip the plastic bezel edges, do not press hard against the delicate LCD display surface.
- Fit the fresh screen panel inside the top‑lid frame, then fasten back all metal mounting brackets.
- Route webcam, ambient‑light‑sensor and antenna ribbons back inside the original foam channels. Double‑check no cables get squeezed or twisted.
- Align the entire screen assembly on the laptop hinge mounting spots, arrange all flex cables with natural slack.
- Insert the camera‑sensor ribbon all‑the‑way into its connector and lock the retaining clip down. Seat the primary display ribbon cable and engage the locking bar firmly.
Critical Reminder: Partially‑inserted flex connectors are the top cause of black screens, horizontal stripes and flickering panels.
6. Full‑Device Reassembly
- Install fresh hinge screws. Adjust your torque screwdriver between 0.6‑1.1 Nm. Never over‑tighten hinge fasteners; excessive torque easily cracks the new LCD glass.
- Mount the dual speaker‑antenna modules back into their factory positions.
- Re‑establish the battery‑flex‑cable connection, reinstall the battery metal cover and its retaining screws.
- Clip the bottom case shell into position, then refit every base‑chassis screw to its original mounting hole.
7. Post‑Installation Function Test Checklist
- Connect the MagSafe‑3 power supply and boot‑up the MacBook Air A3449.
- Inspect the full Liquid Retina display: verify uniform brightness, zero flickering, no vertical or horizontal pixel lines and no dark dead zones.
- Test built‑in webcam, microphone and automatic True‑Tone brightness‑adjustment function.
- Test lid‑open wake‑up and lid‑close sleep trigger responses.
- Launch Apple Diagnostics to run a complete hardware scan on the newly‑replaced screen component.
- For genuine official display parts, launch macOS Repair Assistant for screen‑part calibration. Third‑party replacement panels may disable native True‑Tone functionality.
8. Common Troubleshooting After Screen Swap
| Malfunction Symptom |
Root Cause |
Repair Fix |
| Entire screen stays black |
Loose or mis‑aligned main display ribbon cable |
Disassemble the chassis and reseat the display flex connector |
| Screen flickers and shows pixel streaks |
Contaminated gold contacts or micro‑damaged flat cable |
Wipe connector terminals with a dust‑free cloth, inspect ribbon‑cable cracks |
| Backlight lights up yet there is no picture |
Non‑compatible LCD model or unlocked cable latch |
Fit an A3449‑matched screen, lock all connector retaining bars |
| System fails to detect the built‑in camera |
Poorly seated sensor‑camera flex wire |
Re‑insert the combined webcam‑ambient‑light‑sensor ribbon |
| Stiff or wobbly screen hinge |
Improper hinge‑screw torque |
Readjust tightness for the four hinge mounting fasteners |
9. End‑User Maintenance & Warranty Notice
- Improper installation‑induced screen cracks, ripped‑up flex cables and motherboard burnout will void your new LCD supplier warranty.
- Dispose of your broken cracked LCD panel by following local electronic waste recycling regulations.
- Keep your defective original screen if your supplier requires returned‑merchandise‑authorization (RMA) shipment.
- After successful replacement, avoid hard impact and sharp‑object scratches to extend the A3449 Liquid Retina display service life.