Document Version: V1.0 | For Technician & DIY Repair Use Only
Table of Contents
- Important Safety Warnings
- Required Tools & Replacement Parts
- Pre‑Repair Preparation
- Old LCD Display Removal Procedures
- New LCD Panel Installation Steps
- Re‑assembly
- Post‑Installation Testing
- Troubleshooting
- Warranty Notice
1. Important Safety Warnings
Read all warnings before starting the repairApple Supp....
- Power off the MacBook completely, disconnect all USB‑C power adapters and peripherals.
- Work on an ESD‑protected anti‑static mat, wear anti‑static wrist strap to avoid static damage to logic board and display flex cables.
- Discharge battery power below 25% before disassembly to reduce short‑circuit and fire risk.
- Do NOT touch gold‑plated contacts on flex cables with bare fingers; oil contamination causes display flicker, no‑image or backlight failure.
- Ribbon flex cables are fragile. Never pull, twist or bend cables at sharp angles.
- Unauthorized opening will void official Apple factory warranty. Repair‑caused damage is not covered by original manufacturer warrantyApple Supp....
- If battery appears swollen, stop repair immediately and handle battery with caution.
2. Required Tools & Replacement Parts
Tools
- Adjustable torque screwdriver (0.3‑1.2 Nm)
- Torx Plus 8IP 25 mm screwdriver bit
- Pentalobe screwdriver bit (for bottom case)
- Nylon spudger / black‑stick nylon probe
- Anti‑static wrist strap & anti‑static work mat
- Non‑abrasive lint‑free microfiber cloth
- Tweezers (plastic insulated type)
Replacement Part
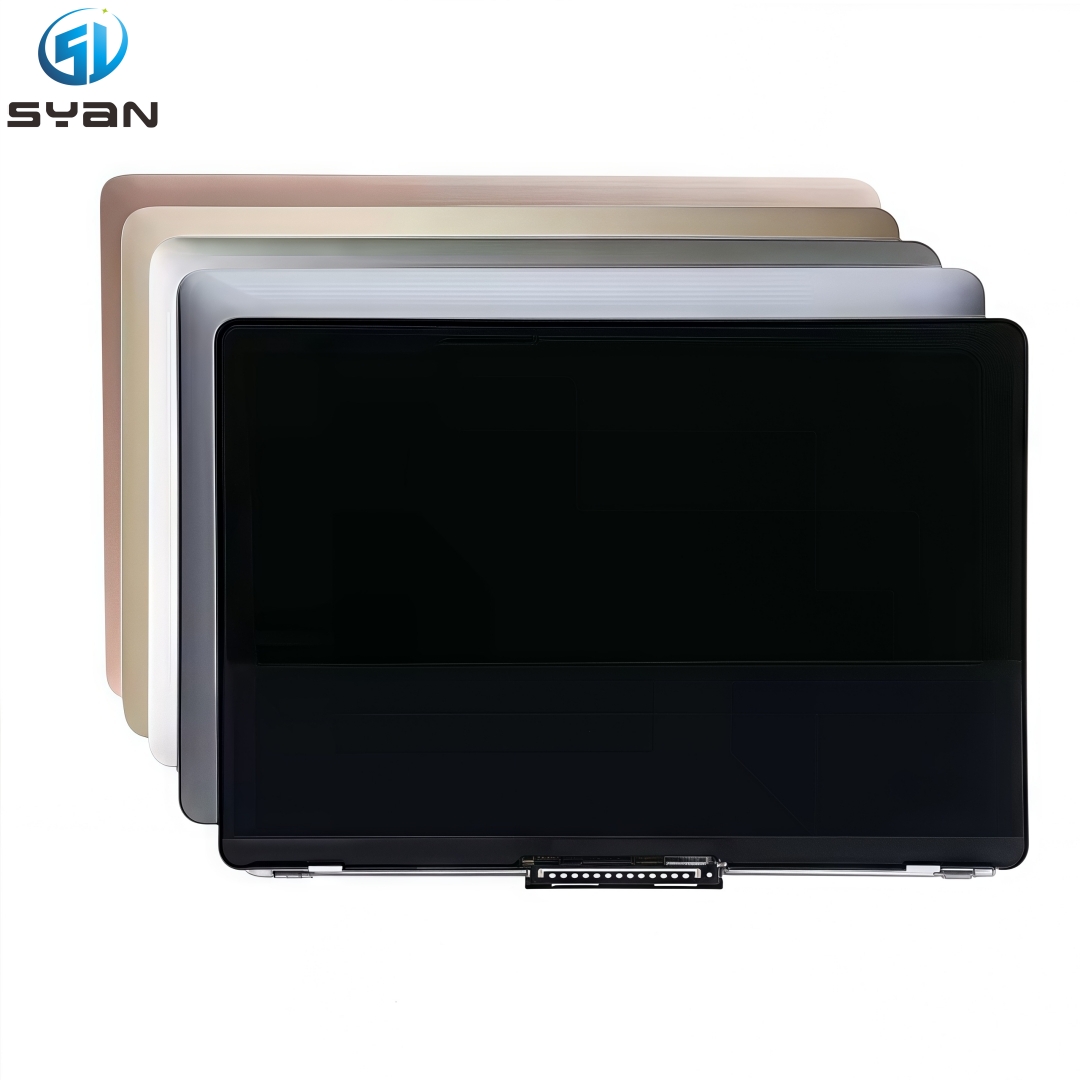
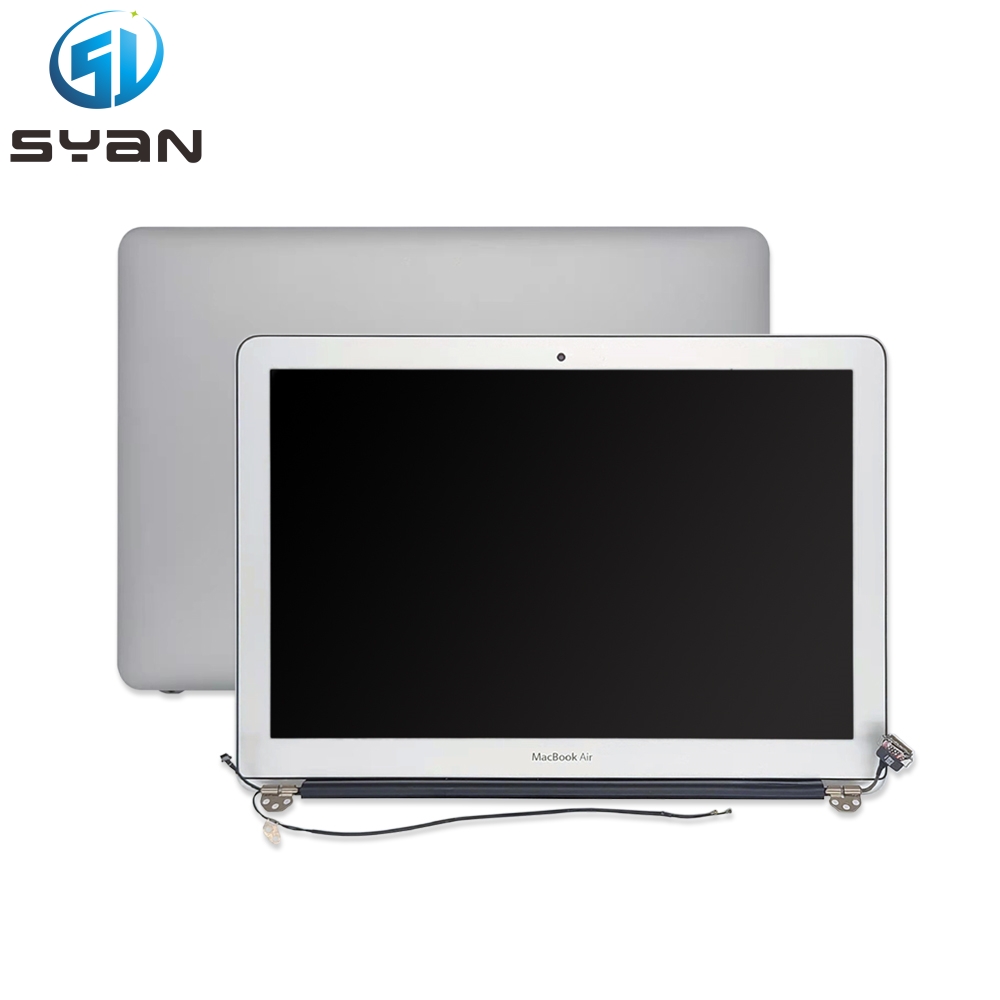
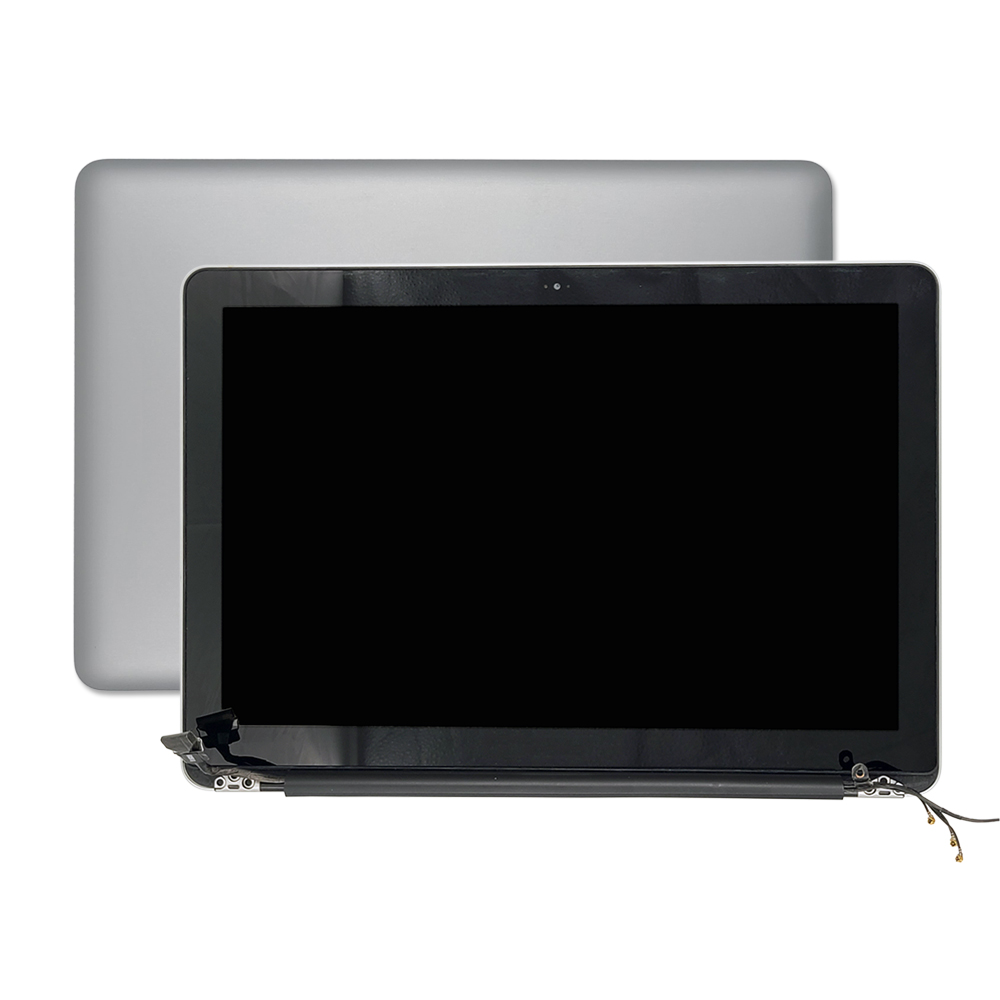
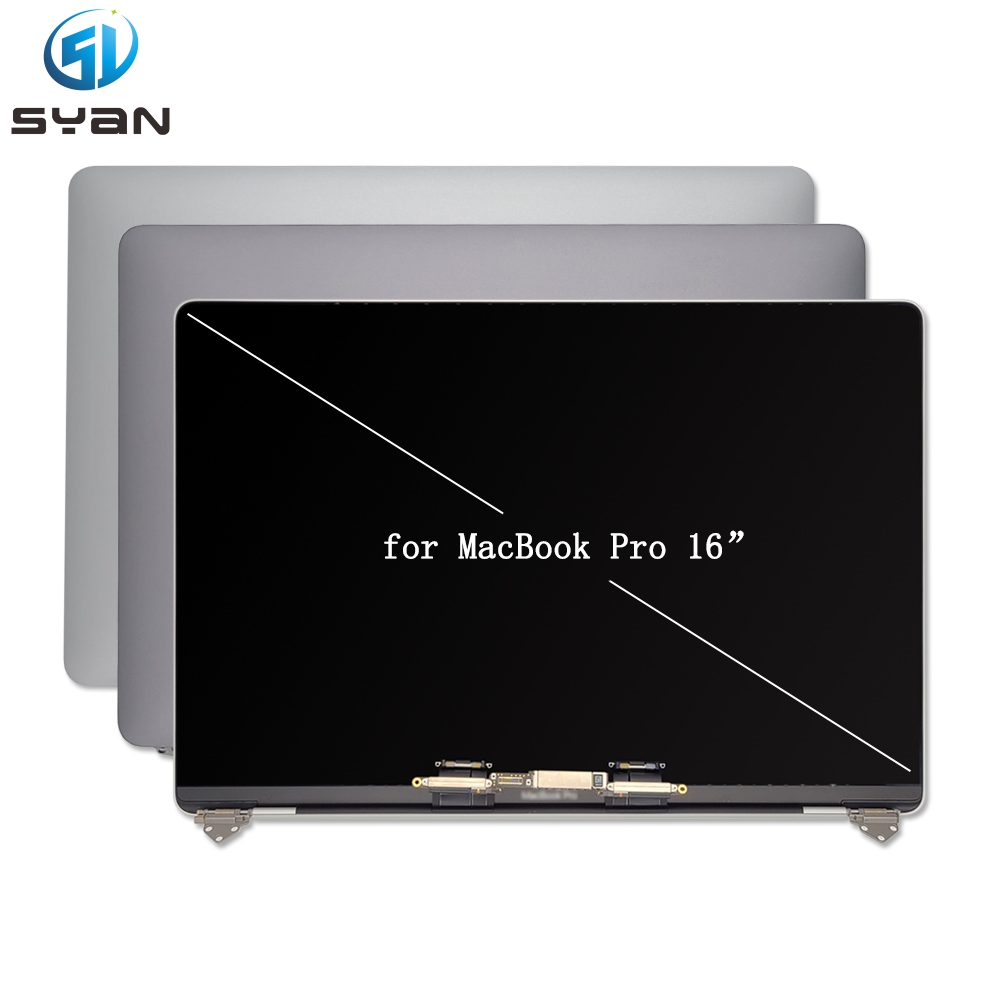
- Compatible LCD Screen Panel for MacBook Neo A3404
- Matching hinge screws (new set recommended; reuse old screws is not advised)
3. Pre‑Repair Preparation
- Shut down macOS fully, close the laptop lid, place the unit upside‑down on anti‑static mat.
- Remove all Pentalobe screws securing the bottom case. Keep screws sorted by length and position.
- Pry and lift off the bottom case cover with nylon spudger.
- Locate battery connector cover. Remove fixing screws, use nylon probe to safely disconnect battery flex cable from logic board.
- Wait 60 seconds for mainboard residual power discharge before proceeding with further disassemblyApple Supp....
- Remove antenna module assembly to access display internal connectors.
4. Old LCD Display Removal Procedures
- Flip up locking bar of main display flex cable, gently slide out the display flex cable from the logic‑board connector.
- Release locking bar for camera / ambient‑light‑sensor (ALS) flex cable; pull the cable out carefully. Lift cable out from foam routing channelApple Supp....
- Fully open the MacBook lid. Place the whole unit face‑down on clean work surface; let the display assembly hang over the edge of work table.
- Secure display assembly by hand. Use torque driver with 8IP bit to remove four hinge mounting screws.
- Slowly lift the complete display assembly away from top‑case housing. Make sure no cables get caught or pinched during lifting.
- Place the full display‑lid assembly on soft anti‑static surface. Remove mounting brackets, then detach the damaged old LCD panel from lid frame.
- Transfer camera module, microphone and antenna accessories from old screen frame to new LCD panel carefully.
5. New LCD Panel Installation Steps
- Unpack brand‑new A3404 LCD screen. Hold panel only by frame edges. Do not press on LCD surface.
- Align new LCD panel inside display lid frame. Re‑install metal mounting brackets.
- Route camera, ALS and antenna cables back into original foam channels; avoid cable pinching.
- Position complete display assembly back onto the MacBook top‑case hinge position. Keep flex cables routed without twisting.
- Re‑insert camera / ALS flex cable into connector; close down connector locking bar firmly.
- Insert main display flex cable fully into its socket; flip locking bar down to lock cable in place.
Confirm cables are fully seated; partial insertion leads to black screen, flickering or vertical lines.
6. Re‑assembly
- Set proper torque value (0.6‑1.1 Nm) on adjustable screwdriver. Fit brand‑new hinge screws into hinge holes in correct sequence. Do not over‑torque screws; overtightening will crack LCD panel.Apple Supp...
- Re‑install antenna module back into original position.
- Reconnect battery flex cable, reinstall battery connector protective cover and its fixing screws.
- Fit bottom case back onto chassis; install all bottom‑case Pentalobe screws in original locations.
7. Post‑Installation Testing
- Connect USB‑C power adapter, power‑on the MacBook.
- Verify:
- Normal boot‑up, no black screen / no backlight fault
- Full uniform display, no flicker, no vertical / horizontal lines
- Camera function working normally
- Ambient light sensor auto‑brightness response
- Lid opening / closing sleep‑wake function works correctly
- Run built‑in Apple diagnostics to check display hardware status.
Note: For genuine‑part repair, execute Repair Assistant tool inside macOS to finish part calibration after hardware installationApple Supp.... Third‑party replacement panels may disable True‑Tone function.
8. Troubleshooting
| Symptom |
Possible Cause |
Solution |
| Completely black screen |
Display flex cable loose / mis‑inserted |
Re‑open unit, re‑seat display ribbon cable |
| Screen flickers or shows lines |
Damaged flex cable, contaminated connector contacts |
Clean connector gold contacts with lint‑free cloth; inspect ribbon for micro‑cracks |
| Backlight works but no image |
Wrong panel model or poor cable locking |
Confirm LCD compatibility for A3404; ensure locking bars are fully closed |
| Camera not detected |
Camera‑ALS cable mis‑connected |
Re‑seat camera flex cable |
| Hinge tightness abnormal |
Screw over‑torqued / loose |
Adjust hinge screw torque to specification |
9. Warranty Notice
- This repair manual is for technical‑operator reference only. Improper installation‑caused panel crack, cable damage or mainboard burnout shall not be covered by supplier part warranty.
- Properly recycle cracked broken LCD panels according to local electronic‑waste regulations.
- Keep old damaged screen for return‑merchandise‑authorization (RMA) process if required by your supplier.