How to Replace the Display Assembly on MacBook Pro 16-inch (M4, 2024)
Replacing the display assembly on your MacBook Pro 16-inch (M4, 2024) fixes issues like a cracked screen, flickering display, or unresponsive camera. This guide provides a step-by-step, safe, and DIY-friendly procedure optimized for Google search visibility, including tool lists, safety tips, and official specifications.
Key Information Before You Start
Compatible Model: MacBook Pro 16-inch (M4 Pro/Max, 2024, model identifier: A2991)Apple Support
Difficulty Level: Advanced (requires precision tools and anti-static handling)
Time Required: 60–90 minutes
Critical Note: Replacing the display assembly requires a new lid angle sensor (per Apple’s official guidelines)Apple Support. Always use genuine or high-quality aftermarket parts to avoid compatibility issues.
Tools & Parts You Need
Essential Tools
Blue torque screwdriver (3IP Torx Plus bit, 0.3–1.2 Nm)Apple Support
8IP Torx Plus screwdriver (for hinge screws)Apple Support
Nylon pry tool (anti-static, "black stick")Apple Support
Anti-static wrist strap (prevents static damage)
Soft, lint-free microfiber cloth
Magnetic screw mat (to organize small screws)
Replacement Parts
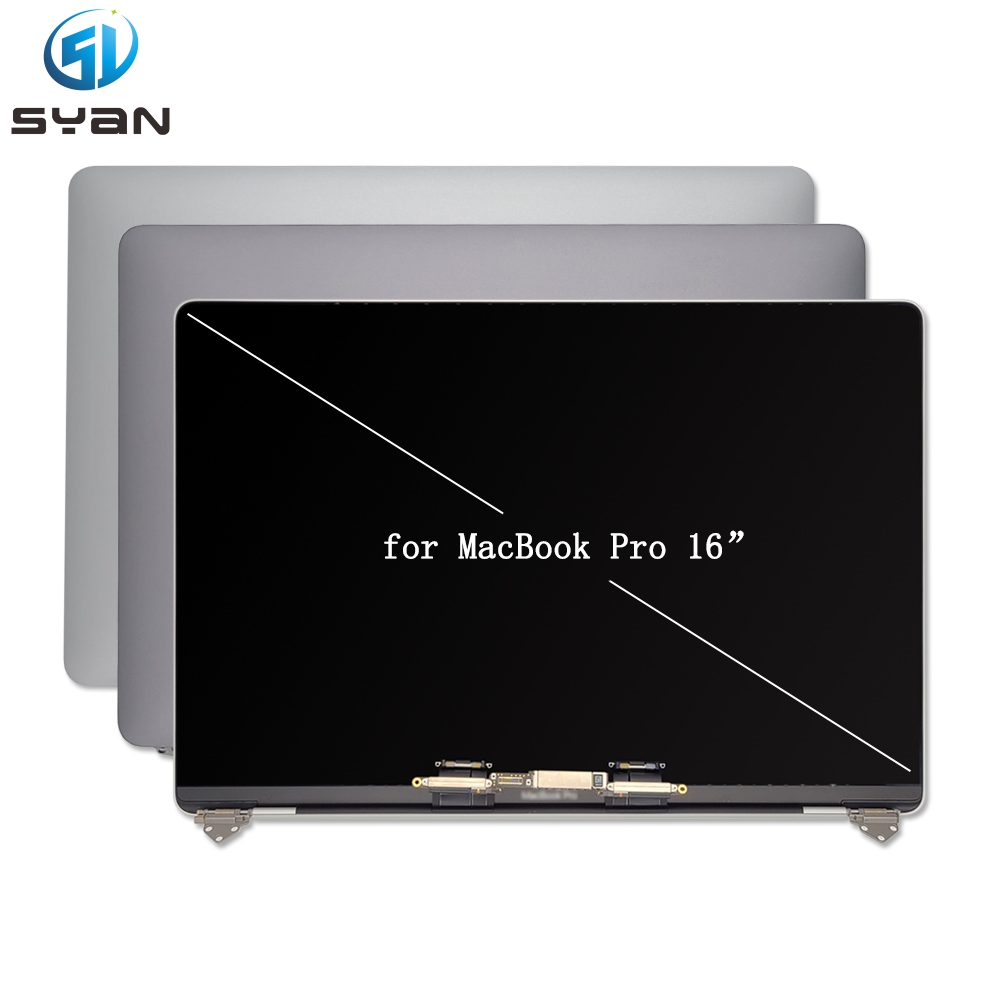
MacBook Pro 16-inch (M4) display assembly (complete with lid)
Replacement lid angle sensor (mandatory)Apple Support
Battery Drain: Let the battery drop below 10% charge before starting—reduces fire risk if the battery is punctured.
Anti-Static Handling: Wear an anti-static wrist strap and work on a grounded, static-free mat. Static electricity can damage the logic board.
Power Off Completely: Shut down the MacBook, unplug the MagSafe charger, and disconnect all peripherals (USB-C, HDMI, etc.).
Gentle Handling: The display assembly and flex cables are extremely fragile—never pull or bend cables forcefully.
Step 1: Remove the Bottom Case
Place the MacBook face-down on a soft microfiber cloth (to avoid scratching the lid).
Use a P5 Pentalobe screwdriver to remove the 10 bottom case screws (6 long, 4 short—note their positions for reassembly).
Gently lift the bottom case from the edge and remove it completely. Set it aside in a safe place.
Step 2: Disconnect the Battery (Critical!)
Locate the battery connector on the logic board (left side, near the fan).
Use a nylon pry tool to gently lift the battery connector straight up—do not twist or bend the pins.
This cuts power to the logic board, eliminating short-circuit risks during display removal.
Step 3: Remove Display Connector Cowlings
Locate the two display connector cowlings (metal shields) near the center of the logic board, covering the display flex cablesApple Support.
Use the blue torque screwdriver (3IP bit) to remove 4x 3IP screws (2 per cowling)Apple Support.
Lift both cowlings off and set them aside with the screws.
Step 4: Disconnect Display Flex Cables
Three flex cables connect the display to the logic board:
Backlight power cable (1)
FaceTime HD camera cable (2)
eDP display data cable (3)Apple Support
Use the flat end of the nylon pry tool to lift each cable connector straight up from the logic board. Work one cable at a time—never pull sidewaysApple Support.
Step 5: Release Display Cable Clips & Buffers
Each display cable is secured by a plastic clip and a rubber buffer in the top case frameApple Support.
Lift the cable clip with the pry tool and fold it back over the top case edge—exposes the buffer underneathApple Support.
Remove the rubber buffer and set it aside (reuse during reassembly).
Repeat for the second display cable.
Step 6: Disconnect the Lid Angle Sensor
Locate the lid angle sensor connector (left side, near the display hinge)Apple Support.
Use the 3IP screwdriver to remove 2x 3IP screws from the sensor’s metal cowlingApple Support.
Lift the cowling, then use the nylon pry tool to disconnect the sensor’s flex cable from the logic boardApple Support.
Step 7: Remove Display Hinge Screws
Fully open the display (180°) and let it hang over the edge of the work surface—supports the lid during hinge removalApple Support.
Use the 8IP Torx Plus screwdriver to remove 6x 8IP screws (3 per hinge) securing the display assembly to the top caseApple Support.
Keep screws organized—left and right hinge screws are identical.
Step 8: Lift & Remove the Old Display Assembly
With all cables disconnected and hinge screws removed, grip the display lid firmly (one hand on each side)Apple Support.
Lift the display assembly straight up and away from the top case—ensure no cables are caught or tangledApple Support.
Set the old display aside (if recycling, follow e-waste guidelines).
Step 9: Install the New Display Assembly
Align the new display assembly with the top case hinges—lower it gently into placeApple Support.
Reinstall the 6x 8IP hinge screws (torque to 0.8–1.0 Nm—do not over-tighten, which can strip threads)Apple Support.
Reconnect the lid angle sensor flex cable and secure its cowling with the 2x 3IP screwsApple Support.
Step 10: Reconnect Display Flex Cables
Reinsert the rubber cable buffers into the top case frame (longer end facing away from the screen).
Fold the cable clips back into place over the buffers.
Align the three display flex cables (backlight, camera, eDP) with their logic board connectors.
Press each cable connector firmly straight down until it clicks into place—ensure full seating (no gaps)Apple Support.
Step 11: Secure Display Connector Cowlings
Place the two metal display connector cowlings back over the flex cablesApple Support.
Reinstall the 4x 3IP screws (torque to 0.5–0.7 Nm) to secure the cowlingsApple Support.
Step 12: Reconnect the Battery
Align the battery connector with its logic board socket.
Press firmly down until it clicks into place—ensure a secure connection (no wiggling).
Step 13: Test the New Display (Critical Before Final Assembly)
Plug in the MagSafe charger and power on the MacBook.
Verify these functions:
Display: No flickering, dead pixels, or discoloration; full brightness control.
Camera: FaceTime HD camera works (test via Photo Booth).
Sensors: Lid angle sensor functions (screen sleeps/wakes when closing/opening the lid).
If issues arise, power off and recheck cable connections (most problems are from loose flex cables).
Step 14: Reinstall the Bottom Case
Align the bottom case with the top case edges—press firmly to snap into place.
Reinstall the 10 Pentalobe screws (match long/short screw positions from removal).
Torque screws to 0.4–0.6 Nm—avoid over-tightening (can crack the bottom case).
Post-Repair: System Configuration (Apple Requirement)
After replacing the display, run Apple Repair Assistant to calibrate the new display and sync the lid angle sensorApple Support:
Connect the MacBook to the internet (Wi-Fi or Ethernet).
Go to System Settings > General > About > Repair Assistant.
Follow on-screen prompts to complete configuration (takes 5–10 minutes).
Troubleshooting Common Issues
Problem
Cause
Fix
No display (black screen)
Loose eDP flex cable
Re-seat eDP cable firmly
Flickering backlight
Unsecured backlight cable
Reconnect backlight cable and check cowling
Camera not working
Disconnected camera cable
Re-seat camera flex cable
Lid sleep/wake not working
Faulty lid angle sensor
Replace sensor and re-run Repair Assistant
SEO Keywords for Google Visibility
MacBook Pro 16-inch M4 display replacement
How to fix cracked screen MacBook Pro 16 M4
MacBook Pro A2991 screen assembly repair
Replace display MacBook Pro 16 2024 step-by-step
MacBook Pro M4 lid angle sensor replacement
Final Notes
Always use genuine Apple parts or high-quality OEM alternatives to avoid compatibility issues (third-party displays may lack brightness control or camera functionality).
If you’re uncomfortable with DIY repair, contact an Apple Authorized Service Provider or Apple Store for professional service.