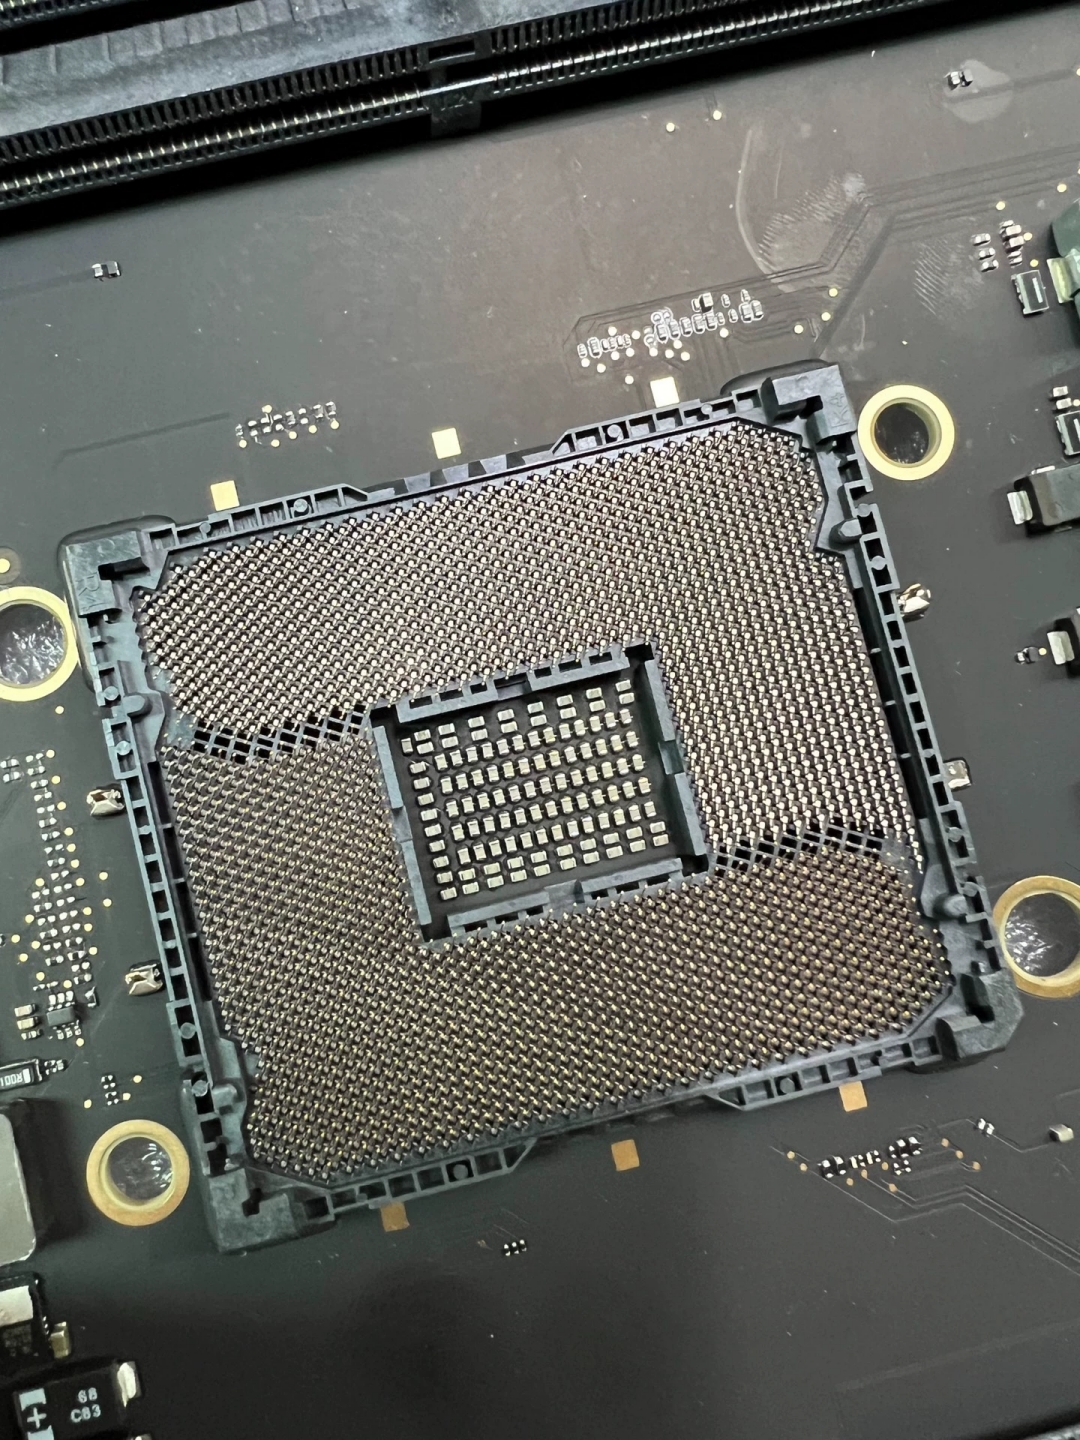
Target keywords:iMac Pro A1862 logic board replacement, 820-00967-A logic board, 820-00976-09 mainboard, iMac Pro 27 inch late 2017 logic board install guide, iMac Pro A1862 compatible logic board, used pulled iMac Pro logic board, iMac Pro motherboard swap tutorial
Compatibility Information
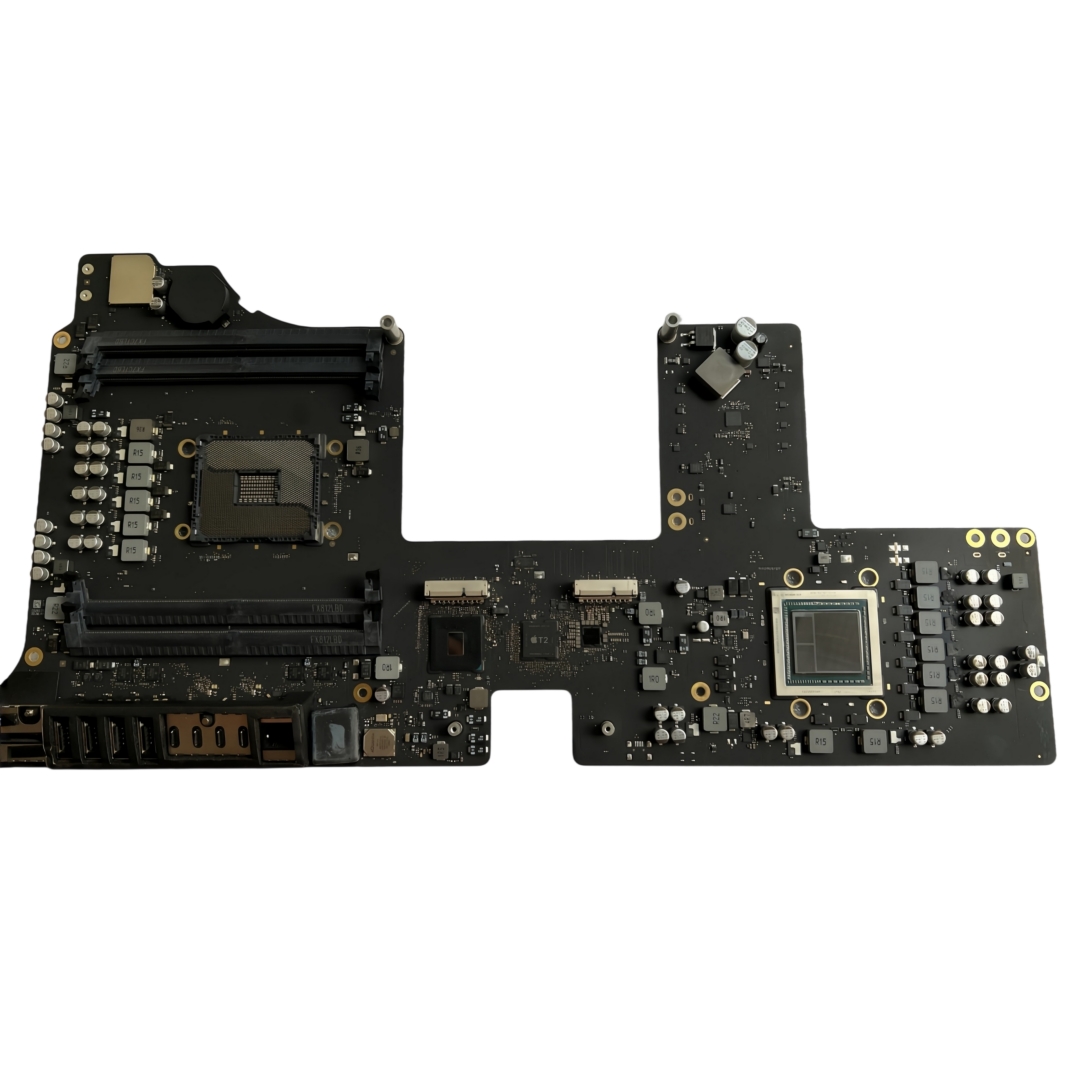
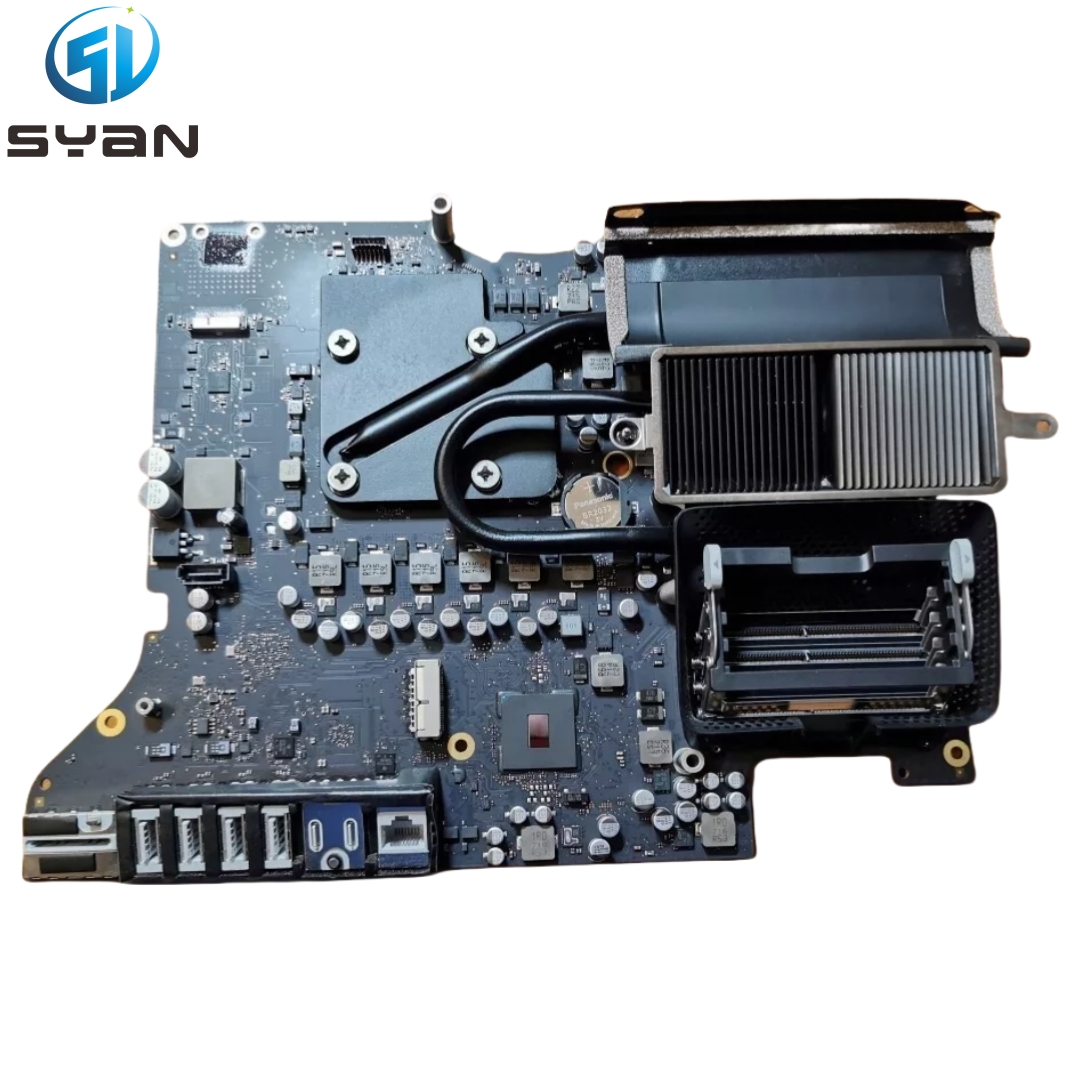
Compatible Model: iMac Pro 27-inch, Model Number A1862
Release Year: Late 2017
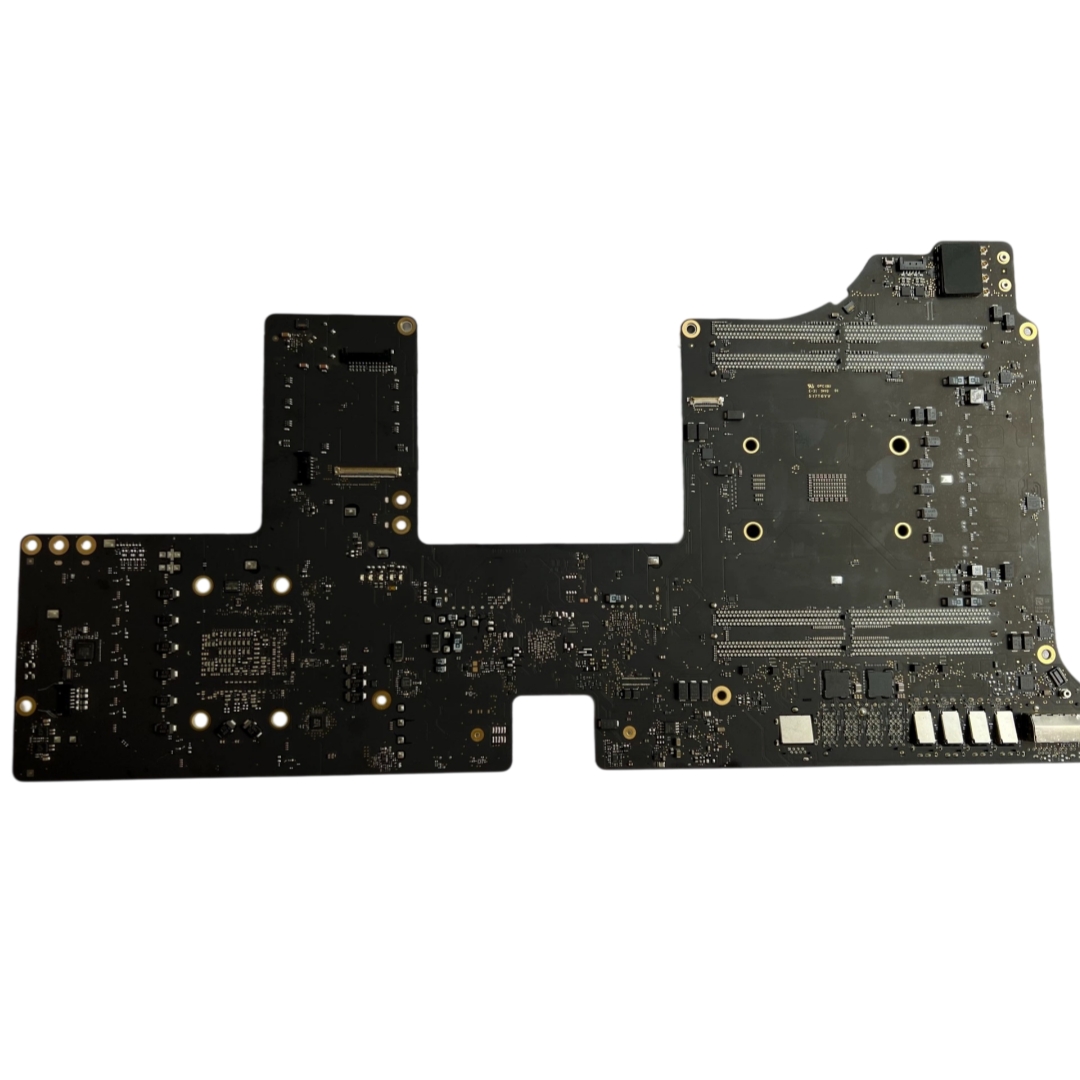
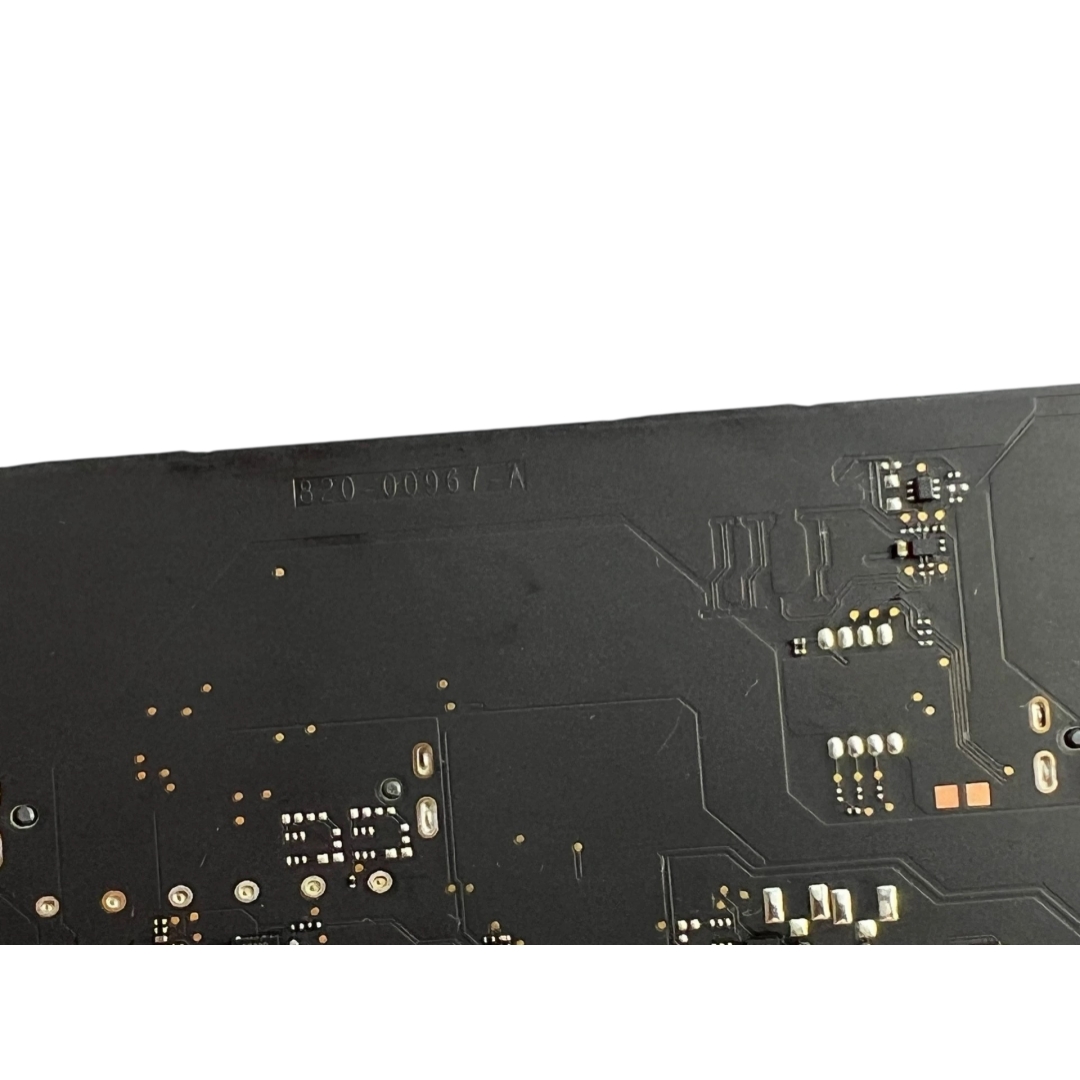
Board Part Numbers: 820-00967-A / 820-00976-09
Alias: Logic Board / Mainboard / Motherboard
✅ This logic board fits ALL Late 2017 27" iMac Pro A1862 configurations:
- 8-Core Intel Xeon W-2140B
- 10-Core Intel Xeon W-2145
- 14-Core Intel Xeon W-2150B
- 18-Core Intel Xeon W-2155
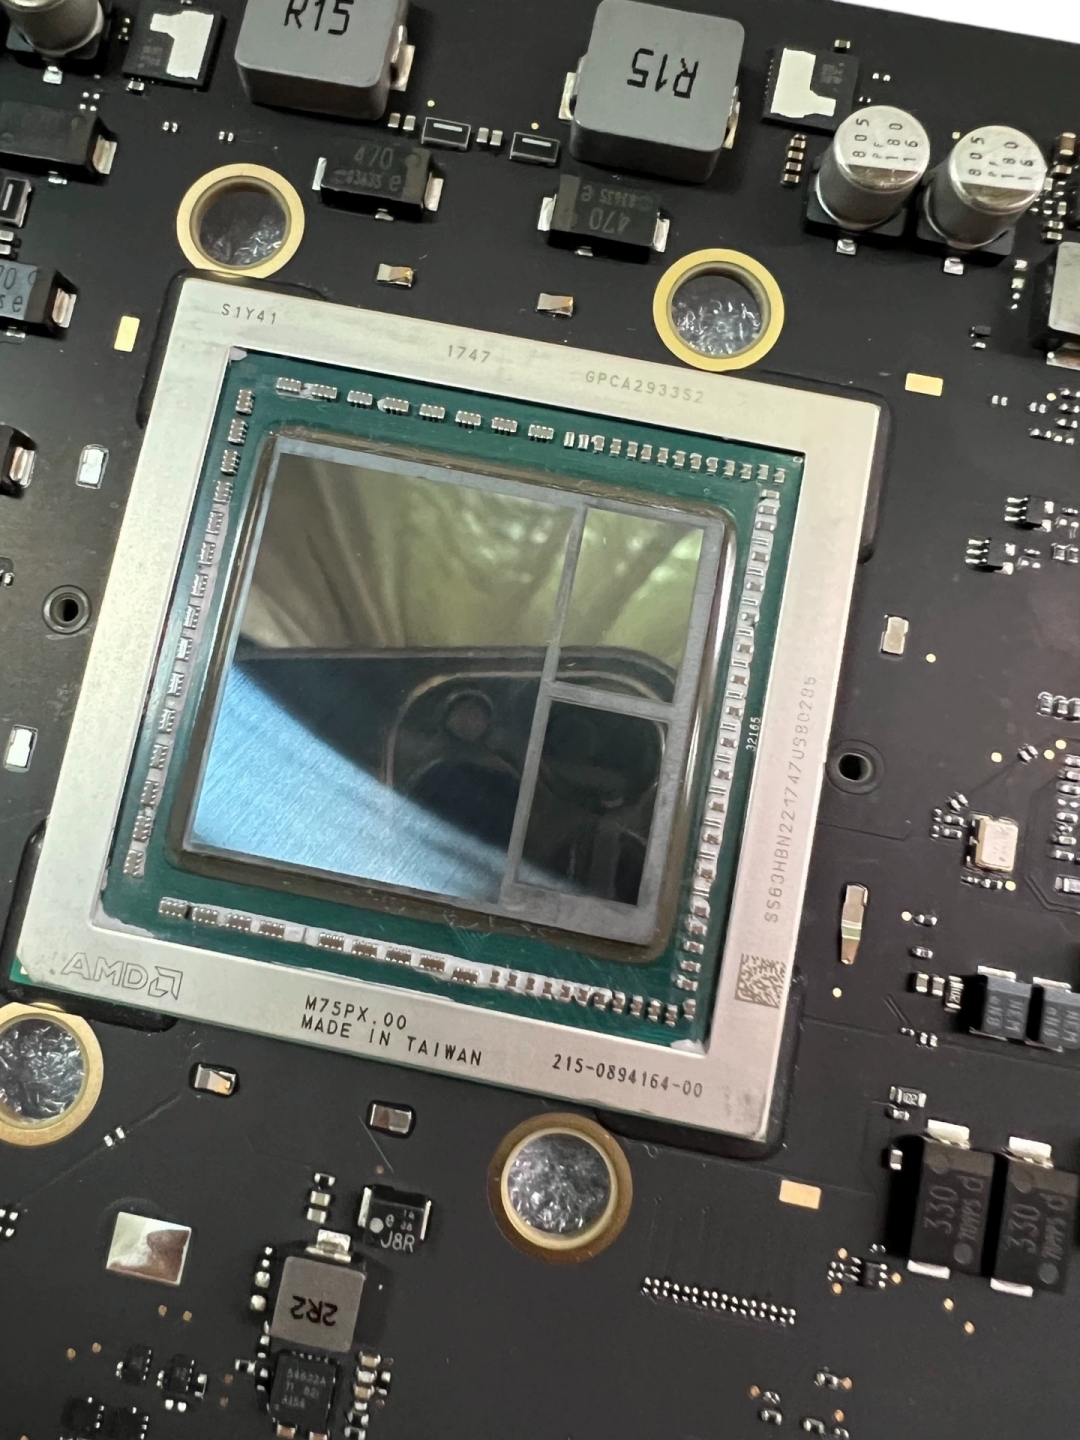
GPU options on this board: Radeon Pro Vega 56 / Radeon Pro Vega 64 / Radeon Pro Vega 64X
RAM: Onboard RAM soldered to logic board, RAM cannot be upgraded separately after install
Storage: Supports Apple SSD module for iMac Pro A1862
⚠️ NOT compatible with regular 27” iMac (non-Pro), iMac 2019, iMac M1, iMac M3, or any other iMac models.
⚠️ This board only works for A1862 iMac Pro 27" Late 2017, will NOT fit A1418, A1419, A2115, A2438.
Item condition: Used OEM Pulled Logic Board, fully tested, tested working. Pulled from working original iMac Pro A1862.
iMac Pro A1862 Logic Board Replacement Tutorial
(Step-by-Step Install Guide | Mainboard Swap Instructions)
Search keywords embedded: how to replace iMac Pro A1862 logic board, iMac Pro 27 tear down guide, iMac Pro motherboard installation steps
⚠️ Important Pre-Work Notes Before You Start
- Power off your iMac Pro completely, unplug the power cable and all peripheral cables. Static electricity can damage logic board components! Always use an anti-static wrist strap, work on an anti-static mat.
- Prepare required tools: iMac opening suction cups, plastic pry tools, tri-point screwdrivers, Torx T3, T4, T5, T8 screwdrivers, tweezers.
- Backup all your data before disassembly. Replacing the logic board will keep your original SSD data only if your original Apple SSD module is reused.
- This replacement is advanced repair work. If you have no iMac repair experience, please send it to a professional Apple repair shop.
Step 1: Remove the iMac Pro front glass and LCD panel
Use suction cups to attach on the front glass. Slowly lift the glass, disconnect the front camera and microphone ribbon cables carefully. Remove glass assembly and set aside. Unscrew all LCD mounting screws, disconnect LCD backlight cable, LCD eDP display cable, then take out the LCD screen.
Step 2: Disconnect all cables connected to old logic board
Label every cable for easy reinstall: power supply cable, SSD cable, Thunderbolt 3 cable, speaker cables, fan connectors, temperature sensor cables, camera ribbon, headphone jack cable. Take photos of all cable positions before unplugging.
Step 3: Unscrew and remove the original faulty logic board
Remove all Torx screws securing the logic board to the rear chassis. Lift the old logic board out slowly, avoid scratching the aluminum chassis or tearing leftover ribbon wires.
Step 4: Install your new pulled 820-00967-A / 820-00976-09 logic board
Align the logic board into the chassis, tighten all mounting screws back to original torque. Do not over-tighten screws, this can crack the PCB.
Step 5: Reconnect all ribbon cables and power connectors
Reconnect every cable following your photos. Double-check all connectors are fully seated, no loose pins, no bent pins on the board socket. Reinstall cooling fans and temperature sensors correctly. Poor fan connection will trigger overheating and fan full-speed noise.
Step 6: Reinstall LCD panel and front glass
Reconnect eDP display cable and backlight cable, mount LCD panel and fasten screws. Reconnect camera and mic cables, re-seat the front glass. Make sure the glass adhesive is clean to avoid dust trapped inside the screen.
Step 7: Power on and test the iMac Pro
Plug in the power cord, turn on the machine. Test boot sequence, video display, Thunderbolt 3 ports, USB ports, Ethernet, audio, Wi-Fi, Bluetooth, fan function, GPU graphics output.
✅ If the machine boots normally and all functions work, your logic board replacement is finished.
❌ Troubleshooting tips: No display = check eDP / backlight cable; No boot = re-seat SSD module or power connector; Fan spinning loud = check temperature sensor cable.
Extra FAQ Section (High Search Volume Questions)
Q: Will this logic board work with my existing SSD?
A: Yes, original A1862 Apple SSD module can be transferred over.
Q: Can I upgrade CPU or GPU by swapping this logic board?
A: CPU and GPU are soldered on this logic board. The specs are fixed on the board you receive.
Q: Do I need to re-flash firmware after logic board replacement?
A: Normally no re-programming is required for original pulled tested boards. Some units may need firmware restore via Apple Configurator 2 if boot loop occurs.
Q: Is this compatible with iMac Pro 2020?
A: No. iMac Pro only released Late 2017 version, there is no 2020 iMac Pro.