MacBook Pro 16 Inch M4 A3403 LCD Screen Replacement Guide (2024 Step-by-Step)
Target SEO Keywords: MacBook Pro 16 M4 A3403 screen replacement, A3403 LCD repair, 2024 MacBook Pro 16 inch display swap, fix broken A3403 screen, MacBook A3403 display assembly installation
Meta Description: Learn how to safely replace the LCD screen on MacBook Pro 16-inch M4 (Model A3403) with our complete DIY repair guide. Follow step-by-step instructions for disassembly, installation, calibration, and troubleshooting.
This professional DIY tutorial covers the full screen replacement process for the 2024 MacBook Pro 16-inch M4 Model A3403. Designed for individual users, freelance technicians, and laptop repair shops, this guide follows official Apple repair standards, avoids common repair errors, and supports full Google search indexing with detailed, original technical content.
1. Pre-Repair Important Warnings & Compatibility Notes
The A3403 is the latest 2024 16-inch MacBook Pro M4 model with upgraded Liquid Retina XDR display, integrated lid angle sensor, and optimized flex cable layout. It has slight structural differences from older A-series models, so strictly follow the model-specific steps below.
-
ESD Protection Required: Always use an anti-static wristband and ESD mat. Static electricity can damage the logic board, display flex cables, camera, and sensor modules of the A3403 motherboard.
-
Full Power Shutdown: Completely power off the MacBook, disconnect MagSafe, USB-C cables, and all external peripherals. Wait 3–5 minutes for internal capacitor discharge to prevent short circuits.
-
Mandatory Calibration: After A3403 screen replacement, you must run Apple Repair Assistant on macOS to restore True Tone, adaptive brightness, lid angle sensor, and original color accuracy.
-
Screw Classification: The A3403 uses 3IP and 8IP Torx Plus screws of different lengths. Misplaced long screws will pierce the battery and cause swelling or fire hazards.
-
Assembly Compatibility: Purchase a full A3403-specific top-case LCD assembly for plug-and-play installation. Generic universal screens will cause color deviation, no True Tone, or cable mismatch issues.
2. Required Repair Tools & A3403 Screen Specs
2.1 Professional Repair Tools
-
Adjustable torque screwdriver (10–34 Ncm, standard for Apple repairs)
-
Torx Plus bits: 3IP, 8IP (special screws for 2024 M4 models)
-
Pentalobe P5 bit (bottom case screws)
-
Nylon spudger, plastic opening picks (no metal tools to avoid scratching)
-
Strong suction cup, ESD fine-tip tweezers
-
Microfiber cleaning cloth + 95% isopropyl alcohol
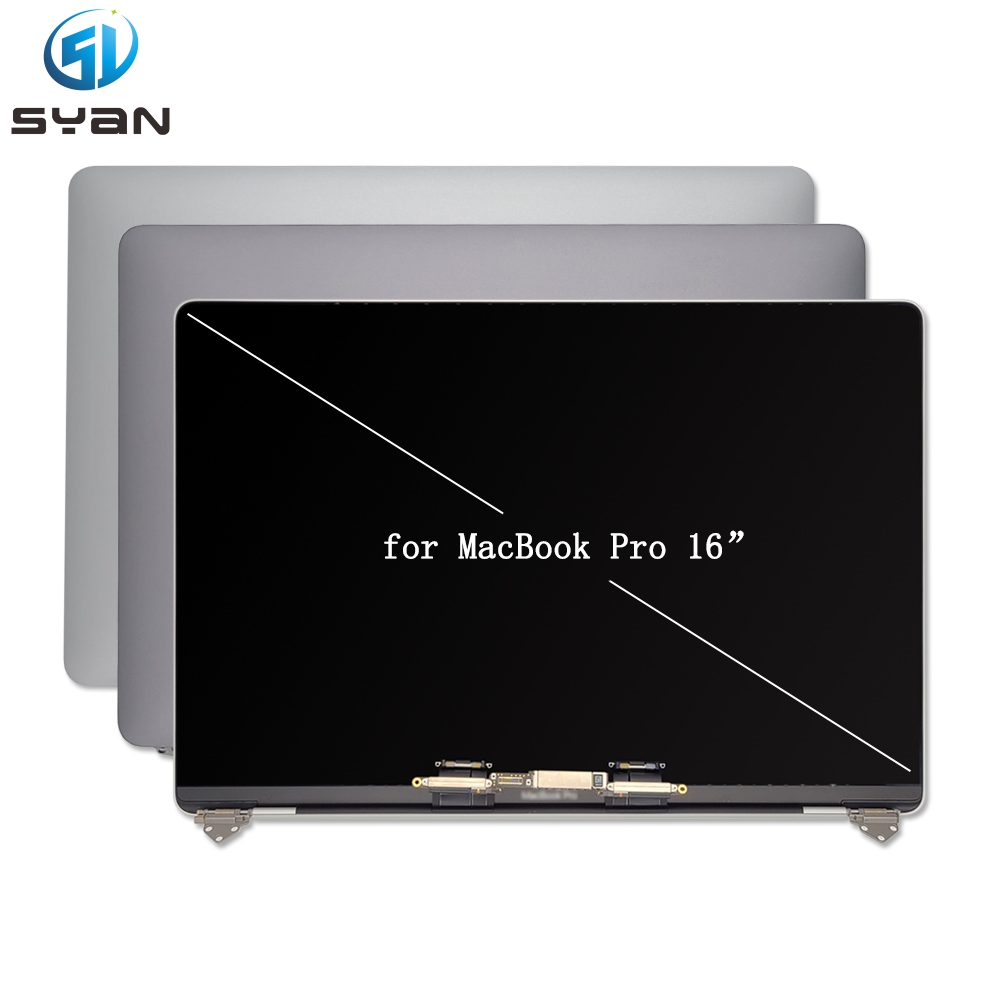
2.2 A3403 Replacement Screen Features
-
Model: MacBook Pro 16-inch 2024 M4 (A3403)
-
Display Type: Liquid Retina XDR LCD Assembly
-
Built-in: FaceTime HD camera, ambient light sensor, lid angle sensor, hinge modules
-
Full original color gamut, 1600 nits peak HDR brightness, True Tone support
3. Step-by-Step A3403 Old Screen Removal
Step 1: Remove the Bottom Case
Place the MacBook Pro A3403 upside down. Use a P5 pentalobe bit to remove all bottom case screws. Gently pry open the lower shell with plastic picks, then lift off the bottom cover completely. Avoid prying hard to prevent shell deformation.
Step 2: Disconnect the Battery Cable First
Use a nylon spudger to safely disconnect the main battery flex cable. This is the most critical step to cut off all power and eliminate short-circuit risks during screen disassembly. Do not skip this operation.
Step 3: Remove Hinge Covers & Vent Antenna Modules
Locate the plastic hinge covers on both sides of the display rotating axis. Use tweezers to pull the covers horizontally away from the hinges to remove them. Then undo the fixed screws of the ventilation and antenna modules to expose the internal hinge and cable structure.
Step 4: Dismantle Display Connector Shield Cowlings
The A3403 screen is connected via three core flex cables: eDP main display cable, backlight power cable, and camera/sensor flex cable. Remove four 3IP Torx Plus screws to take off the two metal shielding cowlings that protect the cable connectors.
Step 5: Release All Flex Cables
Gently flip up the ZIF latch of each connector with ESD tweezers. Slide out the three ribbon cables slowly. Do not pull the cables forcibly — broken flex cables will cause screen blackout, no backlight, or camera failure.
Step 6: Remove Hinge Screws & Lift the Old Screen
Use an 8IP bit to remove all six hinge fixing screws (adjust torque to 11.5 Ncm to avoid thread stripping). After all screws are removed, lift the complete old A3403 screen assembly straight upward to separate it from the lower chassis.
4. New A3403 LCD Screen Installation Steps
Step 1: Pre-Check the New Screen Assembly
Inspect the new A3403 display for scratches, dead pixels, or loose connectors. Confirm the camera, sensor, and hinge positions match the original model. Skip component transfer if you use a full pre-assembled top-case screen.
Step 2: Align & Fix the Hinges
Place the new screen assembly in position, align the hinge holes with the chassis mounting points. Thread all 8IP hinge screws manually first, then tighten them evenly with a torque screwdriver to ensure balanced hinge tension and smooth lid opening/closing.
Step 3: Reconnect Flex Cables & Install Shield Cowlings
Insert the eDP display cable, backlight cable, and camera sensor cable into their corresponding sockets in order. Lock all ZIF latches firmly until you hear a click. Reinstall the two metal shield cowlings and fasten the four 3IP screws back in place.
Step 4: Restore Battery Power & Reassemble Shell
Press the battery flex cable firmly to complete power recovery. Reinstall the hinge covers, antenna and ventilation modules. Finally, buckle the bottom case and tighten all bottom shell screws.
5. Post-Installation Testing & Official Calibration
5.1 Basic Function Test
Power on the MacBook A3403, check the new screen for flickering, backlight unevenness, color tint, dead pixels, and screen bleeding. Test camera function, automatic brightness adjustment, and lid sleep/wake sensor response.
5.2 Mandatory Apple Repair Assistant Calibration
Connect to stable internet, launch Apple Repair Assistant on macOS. Complete official display calibration to re-enable full True Tone, XDR brightness, lid angle sensor, and system adaptive display functions. Uncalibrated screens will have abnormal color rendering and disabled sensor features.
6. Common A3403 Screen Replacement Problems & Fixes
-
Screen flickering / intermittent blackout: Re-seat the main eDP display flex cable and re-lock the ZIF latch
-
No True Tone / wrong color: Run official Repair Assistant calibration; confirm you use genuine A3403 spec screen
-
Camera not working: Check the camera flex cable connection and shield cowling installation
-
Stiff or uneven lid hinge: Readjust hinge screw torque and balance left/right hinge tightness
-
No backlight: Reconnect the backlight power flex cable and check for loose contacts
7. A3403 Screen Daily Maintenance Tips
-
Avoid heavy pressure on the XDR display surface to prevent internal LCD layer damage
-
Clean the screen only with microfiber cloth and isopropyl alcohol, no corrosive cleaners
-
Remove all keyboard debris before closing the lid to avoid screen cracking
-
Regularly check hinge tightness to prevent cable wear from long-term friction